Homemade Classic Hummus – The Best Recipe
This post may contain affiliate links. If you make a purchase through these links, I may earn a small commission at no extra cost to you. I only recommend products I personally use and trust. Thank you for your support!
My favourite homemade classic hummus recipe ever!! This is the best homemade hummus recipe, with a creamy, fluffy texture. It’s super easy to make with chickpeas and tahini, and it is quick and nutritious.
My first hummus experience was at a Turkish restaurant in London. The restaurant served this delish appetiser as a complimentary dish while we waited for our orders.
Then, I fell in love with this humble yet delicious appetiser. Honestly, I tried any store-bought hummus pack, but the taste was far from that of the restaurant’s. Since then, I’ve been obsessed with finding the perfect recipe, which I’m now sharing with you.
With just a few simple ingredients, you can make a far superior Middle Eastern recipe than store-bought. The main reason is that there will not be any preservatives or artificial aromas.
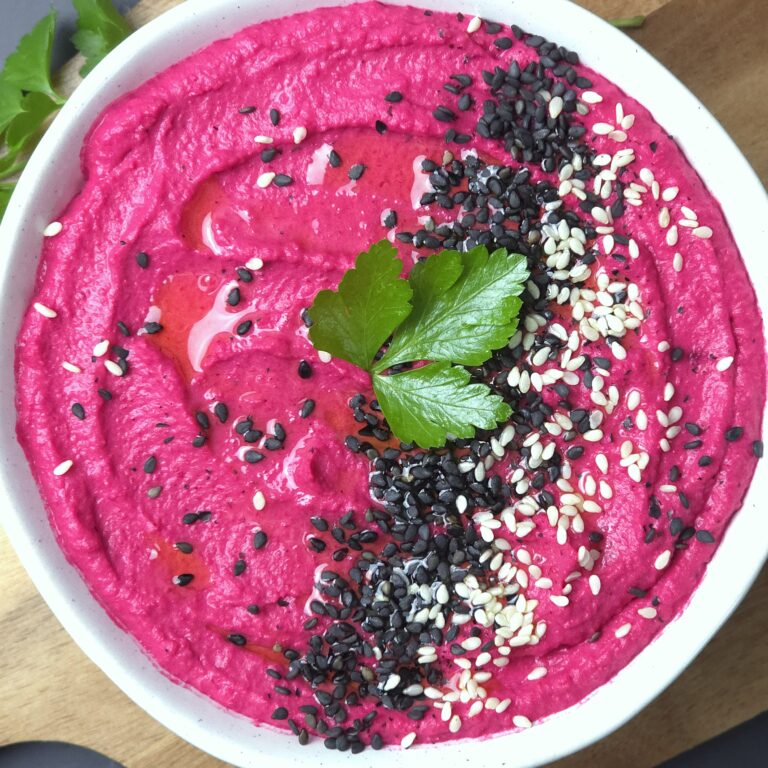
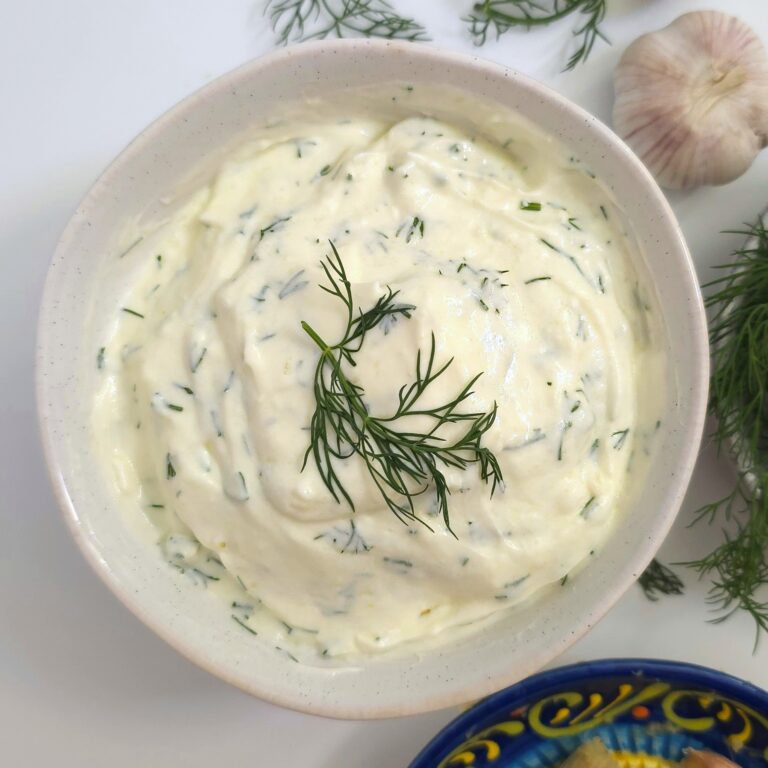
Not only is it quick and easy to prepare, like yoghurt garlic dip and beetroot hummus, but this recipe also allows you to control the flavours, texture, and quality. If you use canned or already-boiled chickpeas, as I usually do in advance, the recipe takes under 10 minutes, making it ideal for busy days.
My Instant Pot recipe section contains instructions for prepping pulses and legumes. This saves plenty of time. Let’s dive in and create the best hummus you’ve ever tasted!
The History Behind Hummus
Hummus has a rich and fascinating history that goes back centuries. This beloved dish has roots in the Middle East and is believed to have originated in the Levant, including modern-day countries such as Lebanon, Syria, Jordan, and Palestine.
Isn’t it fascinating that the earliest written recipe for something similar to hummus dates back to 13th-century Egypt? However, the exact origin of the hummus recipe is still debated among scholars and food historians.
Today, hummus is a staple in many Mediterranean and Middle Eastern countries, with each region’s twist on the hummus recipe.
In places like Israel and Lebanon, hummus is often enjoyed as part of every meal, while in Turkey, it’s frequently served as an appetiser alongside kebabs. No matter where you go, hummus symbolises rich culinary traditions and cultural pride.
Why This Is the Best Classic Hummus Recipe
The secret to this hummus recipe lies in how we blend the ingredients. Combining the tahini and lemon juice first creates a creamier base that helps the rest of the ingredients mix more smoothly.
Another key trick is adding ice cubes during the blending process. This may sound unusual, but it helps emulsify the ingredients, creating a lighter, fluffier texture that is a signature of the best hummus recipes.
Classic Hummus Recipe Ingredients:
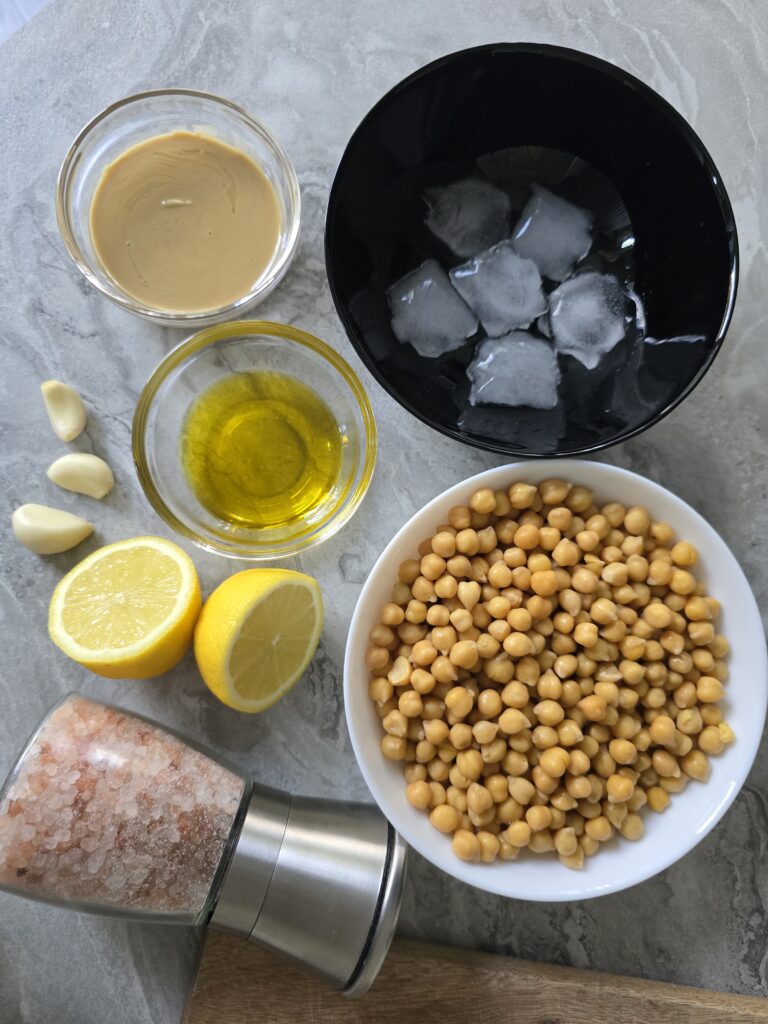
Chickpeas are a powerhouse of plant-based protein and fiber. They are also rich in iron, folate, and magnesium, which support digestion and energy balance. In this recipe, I use boiled and chilled chickpeas in my Instant Pot. However, canned, drained chickpeas work well in this recipe.
Tahini: Made from sesame seeds, it’s high in calcium, zinc, and healthy fats that aid hormone and bone health. Use high-quality tahini (light, not bitter)
Olive Oil: Adds healthy monounsaturated fats and vitamin E; excellent for heart health. Use extra-virgin olive oil.
Lemon Juice: A source of vitamin C, helping iron absorption from chickpeas.
Garlic: Contains allicin, known for its antimicrobial and immune-boosting properties.
Cumin powder: Aids digestion and gives the hummus a warm, earthy flavour.
Ice Cubes: A clever trick for aeration — they lighten the hummus without thinning the flavour.
Equipment:
Healthy Hummus Recipe Step-by-Step Guide
- Prepare the Chickpeas
If you’re using canned chickpeas, drain and rinse them thoroughly. If you prefer to cook chickpeas, boil them in an Instant Pot for 30 minutes for a soft texture that will blend smoothly. - Blend the Tahini and Lemon Juice First
This is the key to achieving that ultra-creamy hummus texture. In your food processor, combine the tahini and lemon juice. Blend for 1-2 minutes until the mixture becomes thick and creamy. This extra step helps break down the tahini and creates a base to help the other ingredients blend better. - Add Chickpeas, Garlic, and Ice Cubes
Add chickpeas, garlic cloves, cumin, and five ice cubes. The ice will chill the hummus and help emulsify the ingredients, creating a fluffy texture. Blend until smooth. - Gradually Add Olive Oil and Seasoning
While blending, slowly drizzle in the extra virgin olive oil. Add salt to taste as you go, ensuring everything is evenly mixed. You may need to pause and scrape down the sides of the food processor a few times to ensure all the ingredients are fully incorporated.- Tipp!! If the mixture is too thick, add some water and keep blending. The more you blend, the fluffier the hummus will be.
- Garnish and Serve
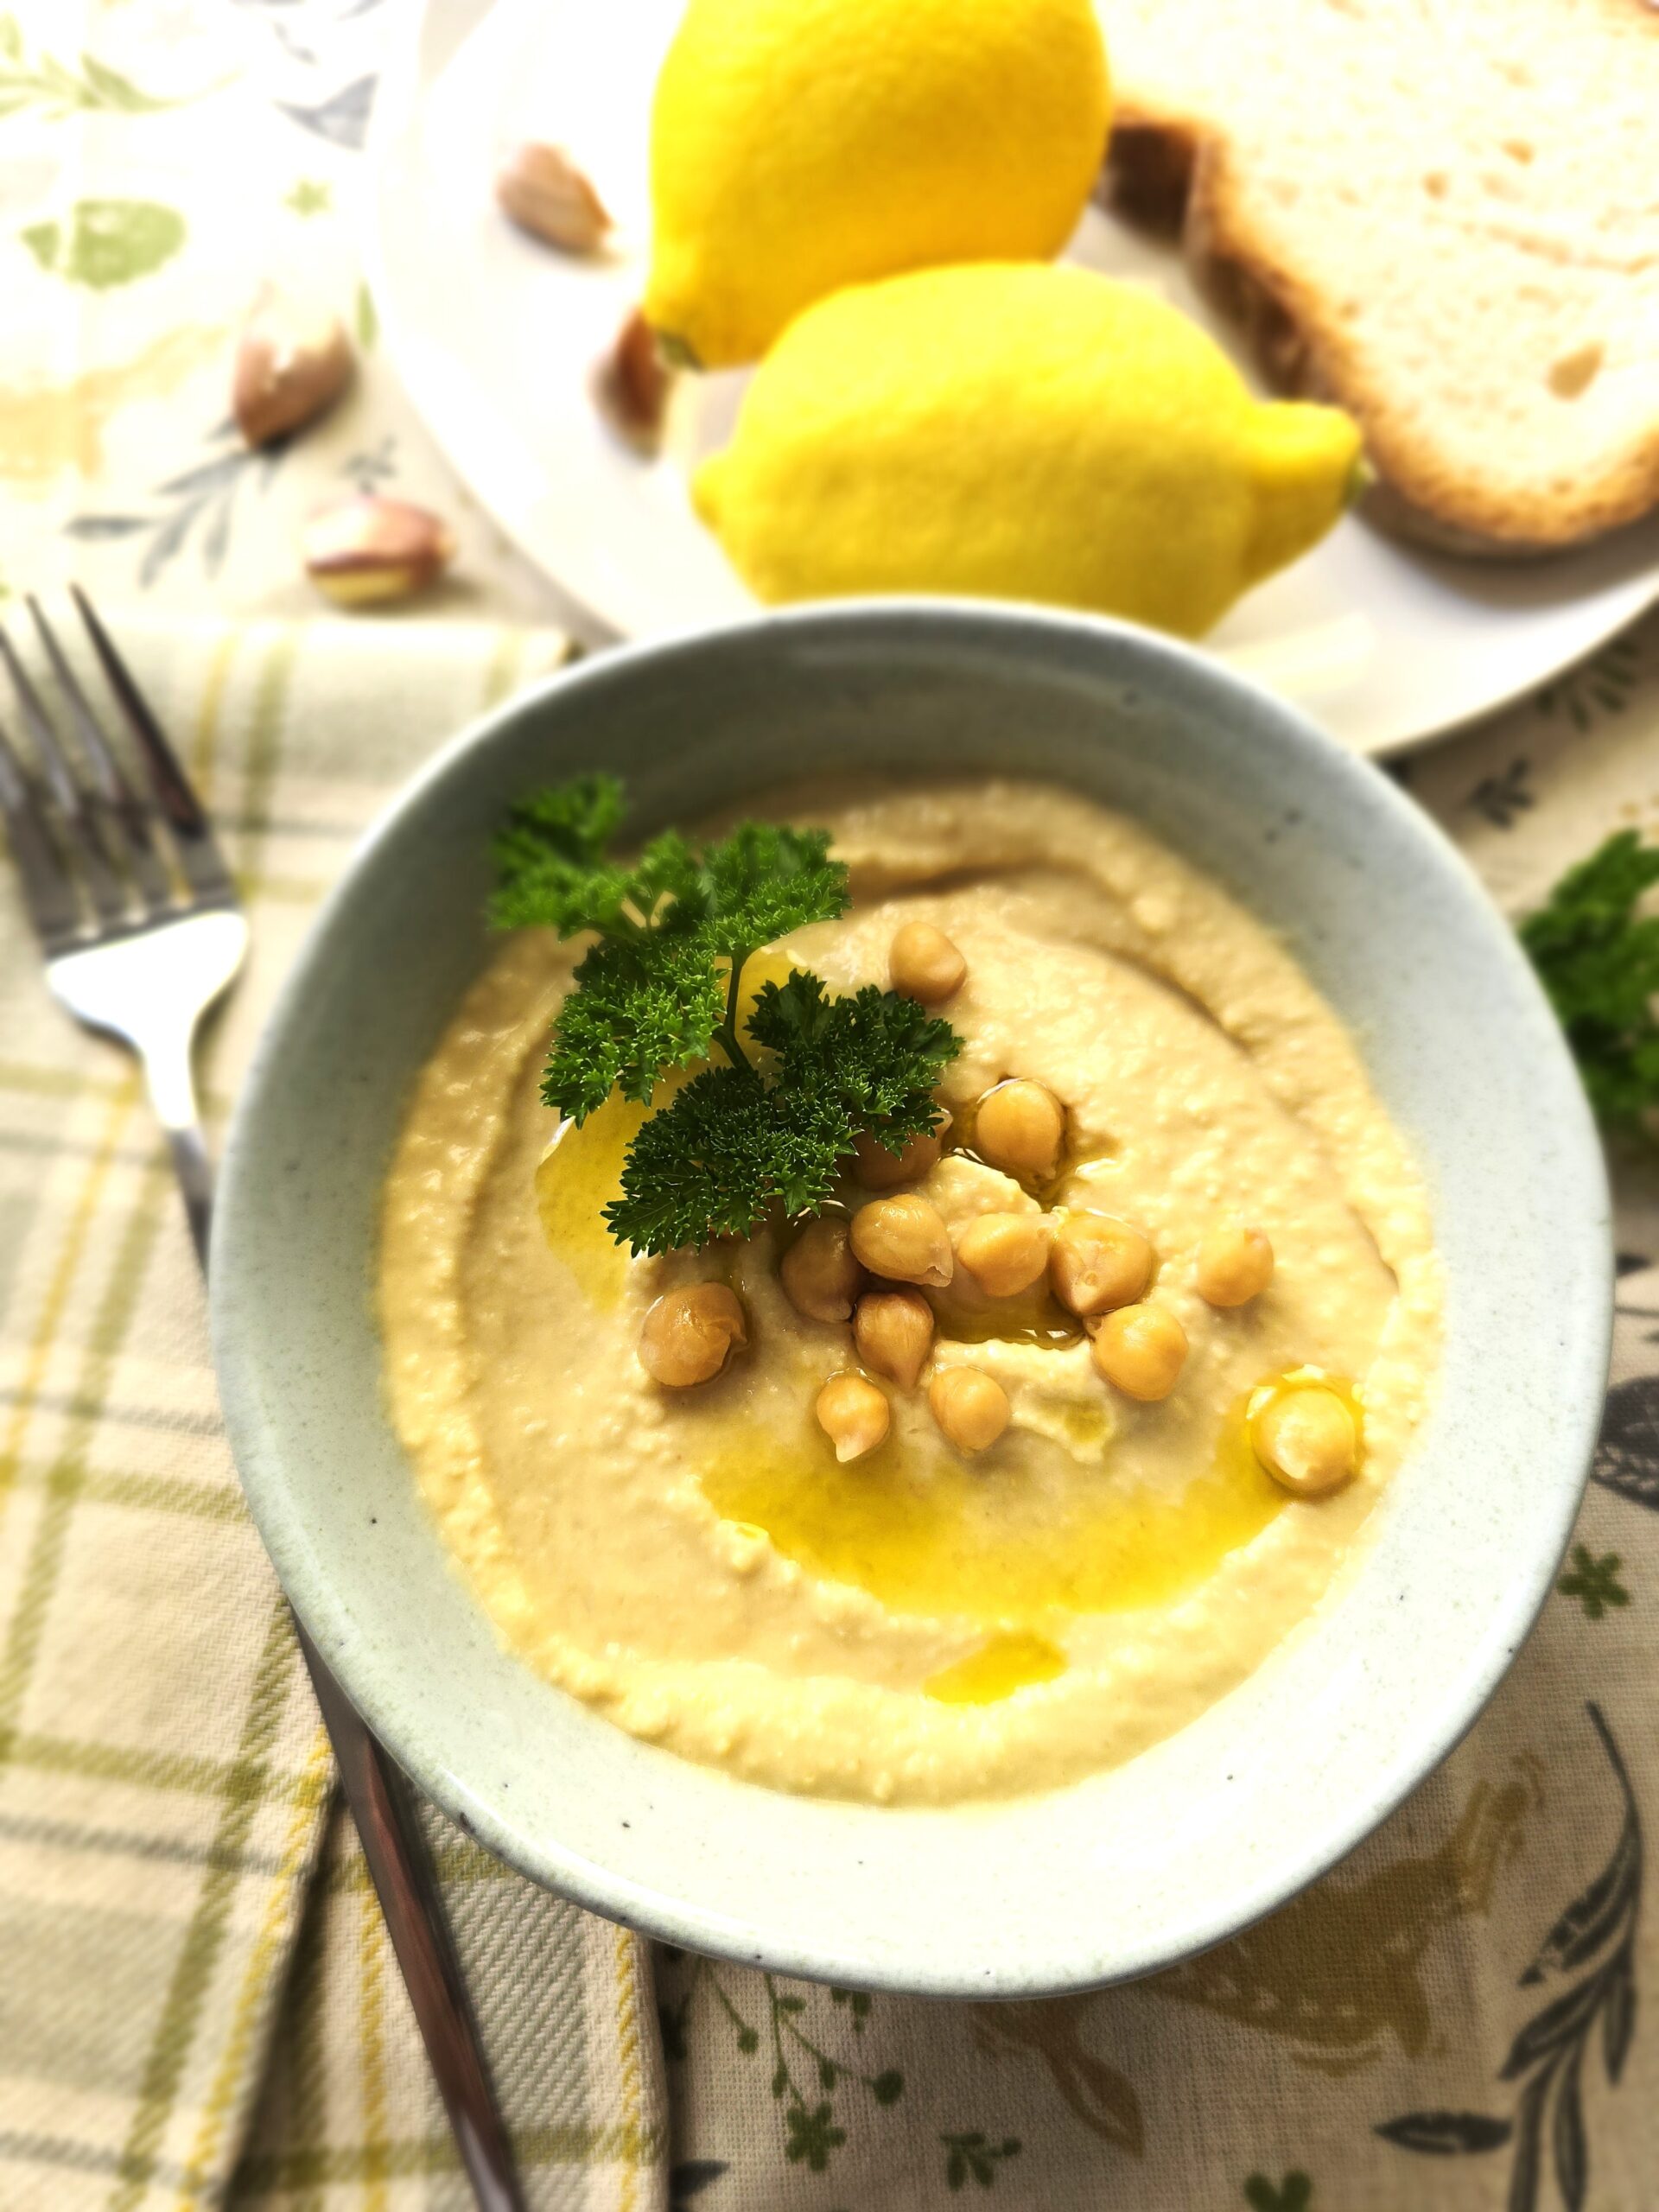
Transfer the hummus to a serving dish once you’ve reached your desired texture. Drizzle olive oil on top, garnish with fresh parsley, and sprinkle a few whole chickpeas for presentation.
Expert Tips for the Best Classic Hummus Recipe
For extra smooth hummus, peel the chickpeas before blending; it’s a bit of labour, but worth it for the silkiest texture. Always mix the tahini and lemon juice first; this step aerates the mixture and gives that signature fluffiness. The ice cubes help emulsify and cool the hummus, creating a lighter texture than adding water.
For the best flavour, use high-quality tahini (light, not bitter) and extra virgin olive oil. If the hummus thickens after chilling, stir in a spoonful of cold water or olive oil before serving.
Refrigerate in an airtight container for up to 4 days. Serve chilled or at room temperature with crudités, gluten-free crackers, or as a spread in wraps and sandwiches.
Nutritional Facts
(per 100g serving):
Calories: 170 kcal
Protein: 5g
Fat: 12g
Carbohydrates: 12g
Fibre: 3g
Sugars: 1g
Essential Nutrients in Hummus:
- Folate: Chickpeas are a great source of folate, which is essential for red blood cell production and helps support cell function.
- Iron: Hummus contains iron, which is crucial for oxygen transport in the blood and maintaining energy levels.
- Vitamin B6: This vitamin supports brain health and helps your body turn food into energy.
- Calcium and Magnesium: The tahini used in this hummus recipe is rich in calcium and magnesium, which are important for bone health.
- Healthy Fats: The extra virgin olive oil in the recipe provides heart-healthy monounsaturated fats.
According to a Healthline article, hummus is a fantastic addition to any diet because it’s rich in plant-based protein, fibre, and healthy fats. This makes it a satisfying and nutritious choice for vegetarians, vegans, and anyone looking for a balanced, wholesome snack.
Best Dishes Paired with Classic Hummus Recipe
One of the most incredible things about this hummus recipe is its versatility. It pairs well with so many dishes! Here are a few ideas for what to serve alongside your homemade hummus:
- Grilled Vegetables
Hummus perfectly complements grilled veggies like zucchini, peppers, and eggplant. Its creamy texture balances the vegetables’ smoky flavours. - Falafel
Traditionally served together in Middle Eastern cuisine, falafel and hummus are a match made in heaven. It is perfect for a falafel wrap or serving falafel as an appetiser; a side of hummus is a great mate. - Salads
Add a dollop of hummus to your favourite salad for a protein boost. It works particularly well with Mediterranean-style salads featuring cucumber, tomato, olives, and feta cheese. - Roasted Meats
Hummus pairs wonderfully with roasted chicken, lamb, or beef. Spread some on a plate and use it as a dip for tender, flavorful cuts of meat. - Pita Bread and Crackers
The classic combo! Hummus is the perfect dip for warm pita bread, crunchy crackers, or even gluten-free tortilla chips.
FAQs
1. Why blend tahini and lemon juice first?
It’s the secret to achieving a whipped, creamy hummus. The lemon acid helps emulsify the tahini, creating a smooth base before adding the chickpeas.
2. Can I make hummus without tahini?
Yes, you can replace it with peanut butter, almond butter, or even Greek yoghurt for a lighter version. The taste will be slightly different but still creamy.
3. How do I make hummus fluffier?
Add a few ice cubes while blending. The cold temperature helps trap air and emulsify the fats, producing a light, airy texture.
4. How long does homemade hummus last?
In a sealed container, it keeps fresh for up to 4 days in the fridge. For extended storage, freeze in small portions for up to 2 months, then thaw overnight.
5. Is hummus healthy?
Yes! Hummus is rich in plant protein, fibre, healthy fats, and micronutrients like folate, calcium, and iron. It helps regulate blood sugar and supports gut health.
6. What can I serve hummus with?
Enjoy it with fresh veggies, gluten-free pitta, or as a spread in wraps and sandwiches. It also pairs beautifully with grilled meats, roasted vegetables, or baked falafel.
Fancy a Freebie?
Subscribe for my newsletter
and get your FREE eBook with 7 delicious gluten-free desserts!
*We will only send you gluten-free, lactose-free, refined sugar-free emails; you can unsubscribe anytime. Read our Privacy & Cookie Policy.

Homemade Hummus – The Best Recipe
Equipment
Ingredients
- 400 g Chickpeas canned or boiled in advance
- 3 tbsp Tahini light sesame
- 1 Lemon Juice fresh
- 3 cloves Garlic choped
- Pink salt to taste
- ½ tsp Cumin powder powder
- 5 cubes Ice for fluffiness
Instructions
- Prepare the Chickpeas: If you're using canned chickpeas, drain and rinse them thoroughly. If you prefer to cook chickpeas, boil them in an Instant Pot for 30 minutes for a soft texture that will blend smoothly.
- Blend the Tahini and Lemon Juice First: This is the key to achieving that ultra-creamy hummus texture. In your food processor, combine the tahini and lemon juice. Blend for 1-2 minutes until the mixture becomes thick and creamy.
- Add chickpeas, garlic cloves, cumin, and a few ice cubes. The ice will chill the hummus and help emulsify the ingredients, creating a fluffy texture. Blend until smooth.
- Slowly drizzle in the extra virgin olive oil while blending. Add salt to taste as you go, ensuring everything is evenly mixed. You may need to pause and scrape down the sides of the food processor a few times to ensure all the ingredients are fully incorporated.
- Garnish and Serve: Once you've reached your desired texture, transfer the hummus to a serving dish. Drizzle more olive oil on top, garnish with fresh parsley, and sprinkle a few whole chickpeas. Enjoy!
Notes
YourDani x x
Nutrition


Thank you for stopping by! I’m Dani!
nutrition student | Healthy Live Promoter | Gluten-free recipe developer
Welcome to DeGlutenista Nutrition!
Your visit really means the world to me. I’m happy to share simple, nourishing gluten-free recipes and practical food tips focused on gut health and clean eating, all with an emphasis on reducing ultra-processed ingredients.
My approach is simple: practising mindful eating, regardless of food sensitivities, can be both tasty and healthy.