This post may contain affiliate links. If you make a purchase through these links, I may earn a small commission at no extra cost to you. I only recommend products I personally use and trust. Thank you for your support!
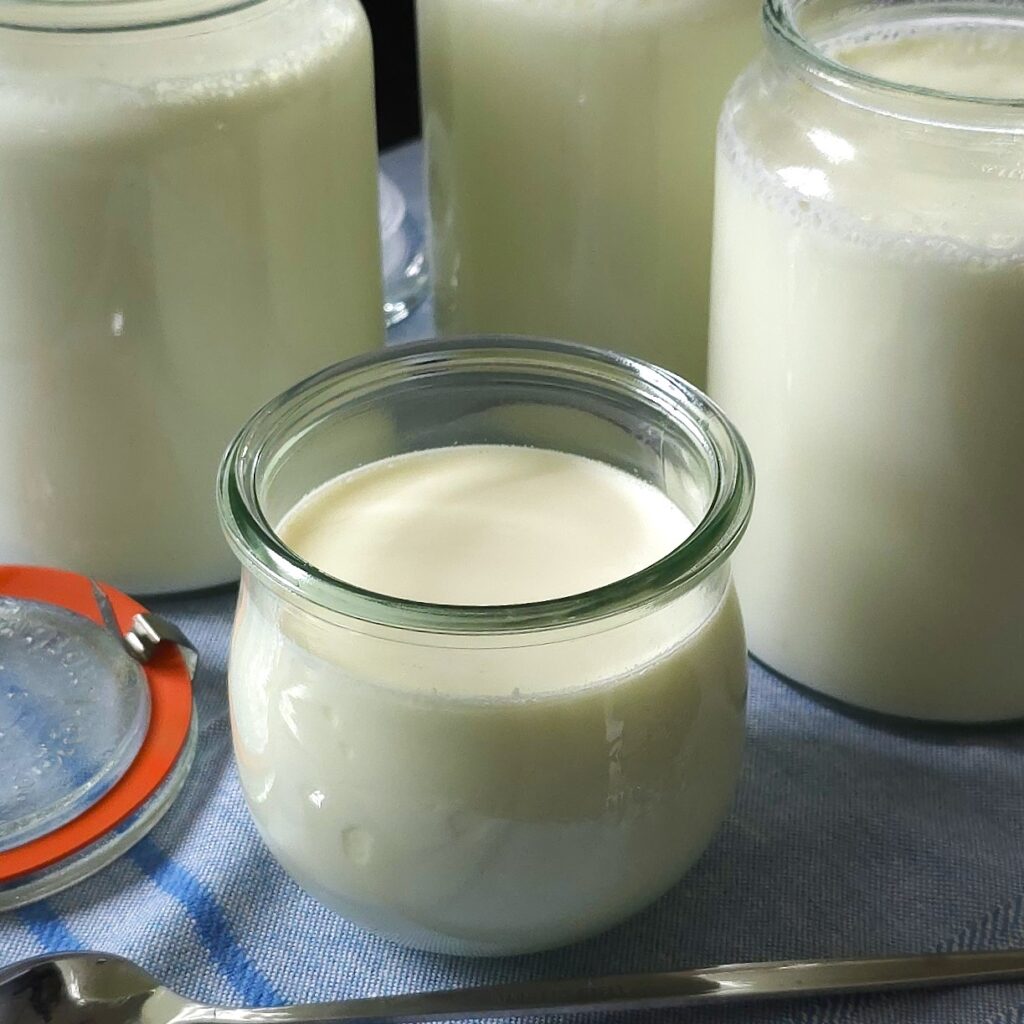
A traditional Bulgarian yogurt Instant Pot recipe you can easily make at home. Not just any yogurt— real, homemade, 24-hour yogurt. It’s thick, creamy, slightly tangy, and bursting with probiotics.
If there’s one food that reconnects me to my roots, it’s yogurt. Bulgarians take great pride in this remarkable food, which has a centuries-long history. You might think that making this traditional Bulgarian probiotic yogurt is complicated, but it’s actually quite simple with or without an Instant Pot.
In fact, there are numerous ways to make homemade yogurt, and you’re likely to find hundreds of variations if you read on the web. Because everyone has seen what works for them, there’s no right or wrong way to make this probiotic superfood.
The great thing about making homemade yogurt is that it doesn’t have to be difficult, just like other fermented staples, such as sauerkraut and lacto-fermented veggies. I assure you, it is not hard at all. After you’ve done it once, you’ll wonder why you hadn’t done it sooner.
This Yogurt Is Ideal If You:
✔ Are lactose intolerant ✔ Struggle with digestion ✔ Want real probiotics (not supplements) ✔ Prefer traditional foods ✔ Follow a gluten-free lifestyle
Why I Love Yogurt — And a Little Story
My relationship with yogurt extends far beyond its nutritional value. It’s tied to one of the most vulnerable and defining moments of my life.
Despite trying everything, I couldn’t breastfeed. The stress, sleepless nights, and the unstable environment around me made it almost impossible. I remember standing in the pharmacy, looking at baby formula, whose price was increasing drastically day after day, until it became completely unaffordable. I felt powerless — every mother wants to give her baby the very best.
What I could give her was homemade Bulgarian yogurt. It was the one food I trusted, and with my mum’s help, yogurt became her first solid food. Even during a difficult chapter of our country’s history, I could still nurture her with something wholesome and traditional.
This experience shaped the way I see food — not just as nutrients, but as resilience, comfort, and love. And perhaps that’s why, so many years later, making yogurt still feels grounding. It’s more than a recipe. It’s a reminder of how powerful simple, real foods can be.
How to Make Bulgarian Yogurt Instant Pot Recipe at Home
In this guide, I’ll show you how to make traditional Bulgarian yogurt at home using an Instant Pot, why 24-hour fermentation makes it more digestible, and the essential tips I’ve learned from years of testing this recipe.
Let me walk you through how to make this gut-loving staple using a modern kitchen helper – your Instant Pot. I’ve adapted the traditional process for busy households, but the outcome remains the divine, velvety yogurt we Bulgarians proudly call “the food of the gods.”
Why 24-Hour Fermented Yogurt Is The Best Friend to Your Gut?
It was a time when I avoided dairy altogether. It happened when I discovered my lactose intolerance. However, I did my research. It turned out that lactose intolerance has exceptions and that personal factors are at play.
If you’re unsure whether your symptoms are caused by lactose intolerance, a true dairy allergy, or sensitivity to milk proteins, I explain the differences clearly in my article Lactose Intolerance vs Dairy Allergy: How to Find the Difference. Understanding this distinction can help you choose the right dairy (or non-dairy) options for your body.
I started to experiment. I found out that I can eat butter in small amounts, yogurt in moderation, and some hard, maturedcheese. It all depends on the fermentation process, where the microbes eat the lactose – the longer the fermentation, the less lactose!
If you’d like to understand why these live cultures matter so much, I explain it in detail in my article How to Nurture Your Gut Microbiome for Better Health & Well-Being, where I explore how fermented foods like yogurt support microbial diversity, gut barrier function, and immune balance.
However, since I started fermenting my own 24-hour yogurt, it has become a staple in my kitchen. Why, you might ask… It is because the longer the process, the less lactose. Plus, more probiotics!
Now, I can enjoy this delicious and nutritious food without any cramps or pain. Additionally, I can cook and prepare a variety of both savory and sweet dishes, which you can find on my blog.
It’s endlessly versatile, whether you swirl it into porridge, top it with fresh berries and flaxseeds, or serve it alongside roasted veggies and gluten-free bread.
Why This Probiotic Yogurt Is So Good for Your Gut Microbiome
This 24-hour yogurt is rich in live cultures that support digestion, enhance nutrient absorption, and boost the immune system. It’s a beautiful example of how traditional fermented foods can align with a modern, lactose-free lifestyle.
Probiotics: Boost gut flora, immunity, and digestion
Low Lactose: Fermentation reduces lactose, making it ideal for sensitive tummies
Protein: Helps repair tissues and keeps you feeling full
Calcium: Supports healthy bones and teeth
Long fermentation is a principle I use across many of my recipes — from Bulgarian yogurt Instant pot recipe to vegetable ferments and drinks. If you’re interested in exploring more, you’ll find my full fermentation guides and beginner-friendly recipes in my Fermentation Hub.
Tip! If you are new to fiber, probiotics, or fermented foods, start with a small amount and increase it over time if you tolerate them.
What Makes Bulgarian Yogurt So Special?
In my homeland, yogurt is more than food—it’s part of our identity. First crafted by the ancient Thracians as far back as the 5th century AD, it’s traditionally made using a specific combination of live bacterial cultures: Lactobacillus bulgaricus and Streptococcus thermophilus.
These two buddies work their magic during fermentation to create that signature tangy flavour and creamy texture we all love. For most people, 24-hour fermentation reduces lactose to very low levels, making it easier to tolerate. However, individual tolerance varies.
Benefits of Long Fermentation Yogurt
This method is for you if you’re passionate about fermented foods, particularly in Bulgarian yogurt Instant pot recipe. Here are some of the health benefits of long fermentation:
Increases probiotic content
Makes the yoghurt easier to digest
Naturally lowers lactose content
Supports a healthy gut microbiome
How Yogurt Supports Your Gut Microbiome
During fermentation, Lactobacillus bulgaricus and Streptococcus thermophilus produce lactic acid and bioactive compounds that:
• Improve lactose digestion
• Support beneficial bacteria growth
• Lower gut inflammation
• Strengthen the intestinal barrier
This is why traditionally fermented yogurt behaves differently in the body than many commercial “probiotic” products.
Instant Pot Bulgarian Yogurt Recipe – Starters
The starter culture you use plays a key role in developing the flavour, aroma, and texture of traditional Bulgarian yoghurt. Over the years, I’ve experimented with various cultures, and for this recipe, I rely on two favorites, each bringing its own personality to the final result.
The ”Bolgari” Starter Culture (Used in this recipe) This culture includes the classic Bulgarian strains L. bulgaricus and S. thermophilus, as well as two additional lactic acid bacteria: L. gasseri and L. rhamnosus. These strains naturally occur in fermented dairy and contribute to a slightly richer complexity, a rounder tang, and a smooth, aromatic finish.
When I use this starter, the yogurt tends to be more nuanced in flavour, with a gentle acidity and a silky, slightly custard-like texture.
Using Store-Bought Yogurt as a Starter
If you don’t have a dedicated starter culture at home, you can successfully make Bulgarian-style yogurt using a plain, live-cultured yogurt from the supermarket. The key is choosing a product with a clean ingredient list and active bacterial cultures.
When selecting a yogurt to use as your starter:
• Check the label for live active cultures. The yogurt should list strains such as Lactobacillus bulgaricus and Streptococcus thermophilus on the back label. Some brands include additional cultures, which can slightly influence the flavour and texture.
• Avoid stabilisers and fillers. Look for a yogurt made simply from milk and live cultures. Ingredients such as starch, gelatine, pectin, gums, or added proteins may interfere with fermentation or cause an inconsistent set.
• Choose unsweetened and unflavoured varieties. Added sugars, flavorings, and fruit purées are not suitable for fermentation.
• Use a fresh pot. Yogurt that’s close to its expiry date tends to have weaker cultures, which may reduce fermentation strength.
Using a high-quality, live-cultured supermarket yogurt is an excellent way to start if you’re new to fermentation or experimenting with different textures. It produces reliable results and is a convenient option when you don’t have starter cultures on hand.
What You’ll Need for This Healthy Bulgarian Yogurt Recipe
Ingredients:
Whole-fat milk – ideally organic
Starter culture (follow the pack instructions) or yogurt from a previous batch.
Bulgarian Yoghurt Starter Culture – contains Lactobacillus bulgaricus and Streptococcus thermophilus for that authentic Bulgarian flavor I grew up with.
Yogurt thermometer – helpful to make sure that the temperature is not higher than 42°C/107.6°F. You can use any food thermometer.
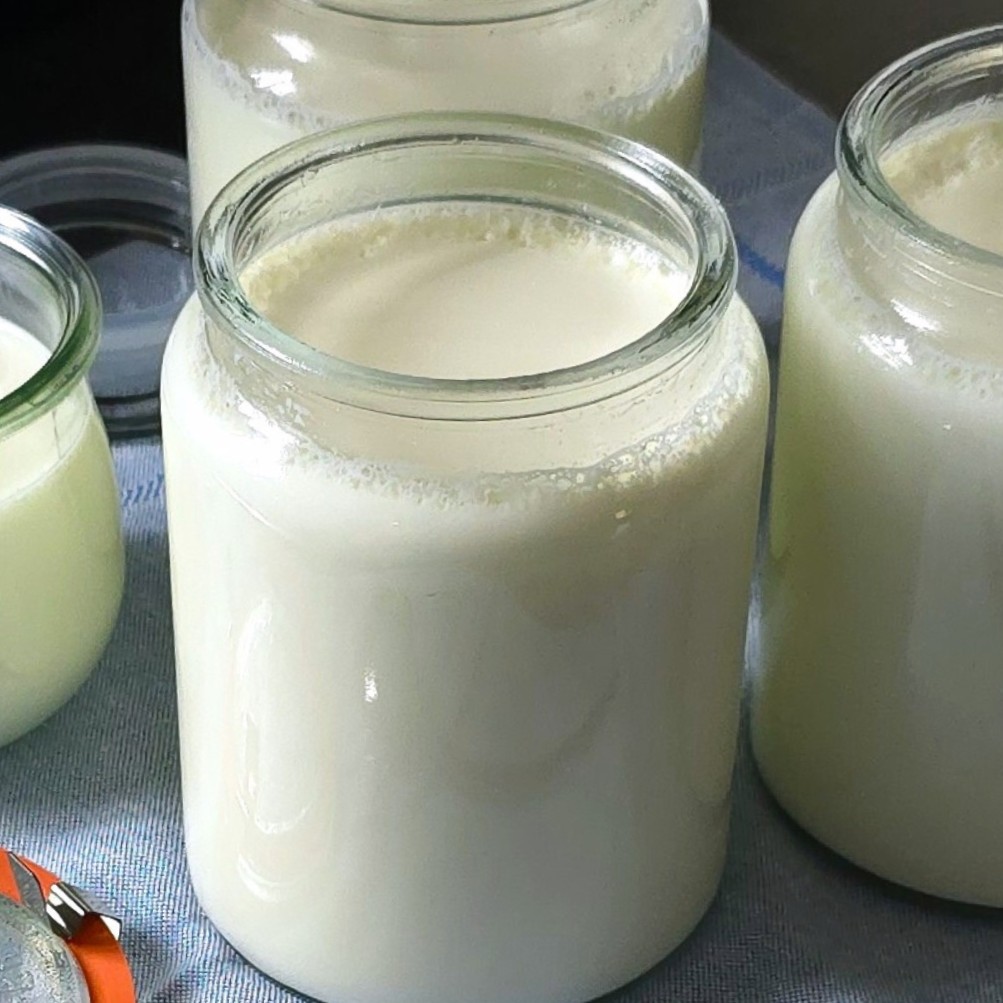
Sterilised glass jars – use whatever fits in your Instant Pot – 700ml are the best.
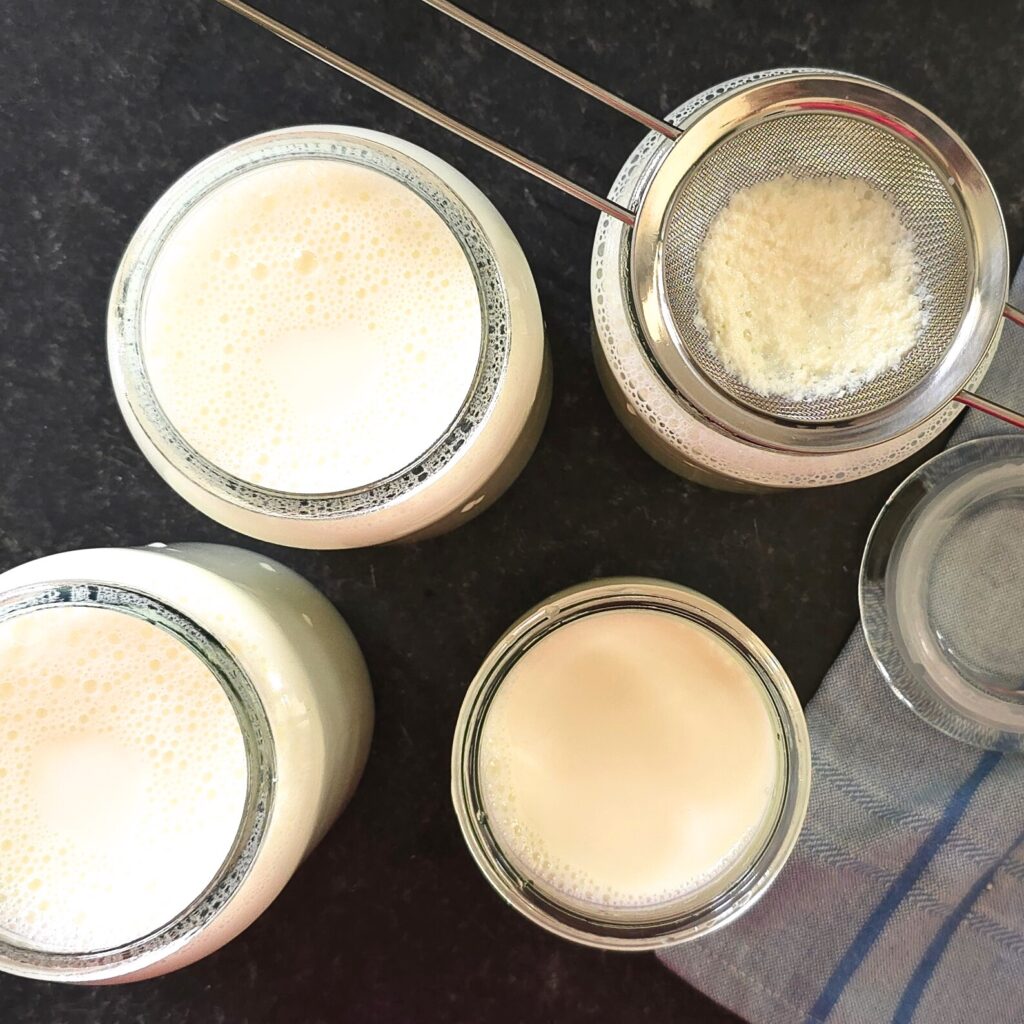
Tea strainer – helps remove small particles in the milk and creates the smoothest yoghurt.
Homemade Yogurt Recipe Step-by-Step Instructions
Peparations
Prepare the jars – Sterilise the glass jars, lids, and utensils. To effectively sterilise your equipment, bring water to a boil in a kettle, then pour the boiling water into the jars and lids.
Warm the Milk – Place milk into the Instant Pot. Cover with the lid and activate the ‘Boil’ function. Allow the milk to cool naturally in the pot. If you want it to cool more quickly, fill the sink with cold water and add some ice cubes. Place the pot into the sink. Do not cool too much.
Cool the milk to 42°C/107.6°F. Ensure the milk temperature is below this. A thermometer is the best tool; if unavailable, use your hands to gauge the temperature. If the pot feels too hot, allow it to cool further.
While the milk cools, prepare your equipment by emptying any boiling water from the metal bowl and yogurt pots, then cover them with a clean towel.
Make Your Probiotic Yogurt
Add the Starter – Gently whisk the starter culture into the milk. If it’s your first batch, use a pack of live cultures; follow the instructions on the pack. If using the previous batch, add 2-3 generous tablespoons of yogurt to the milk; whisk your starter in the bowl first. Stir very well.
Pour into Sterilised Jars – Strain the milk as you pour it into the jars, then secure the lids tightly. I use a tea strainer to achieve a smoother, particle-free yogurt texture.
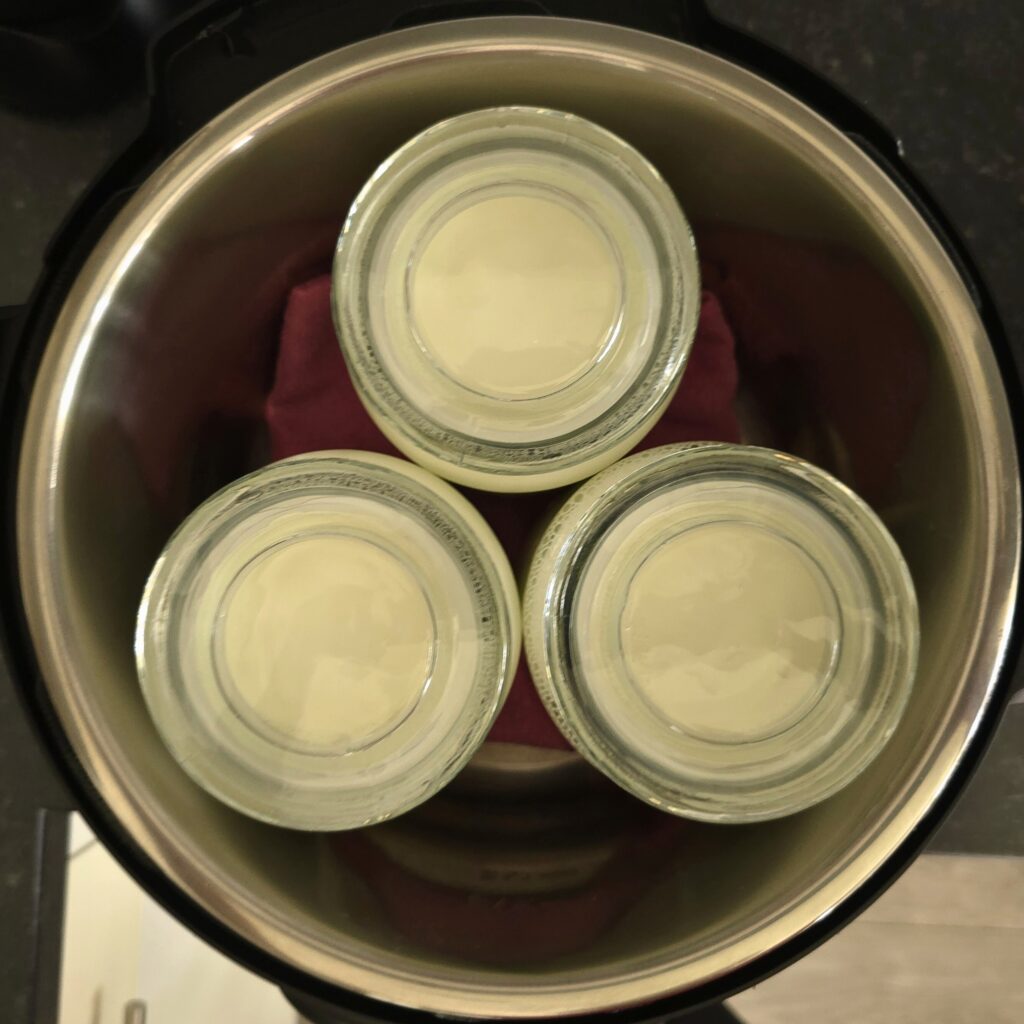
Ferment for 24 Hours – Wash and dry your Instant Pot insert. Place the jars inside, close the lid (you don’t need to seal it), and select the Yogurt function for 24 hours. This long fermentation time allows the beneficial bacteria to flourish and naturally reduce the lactose content.
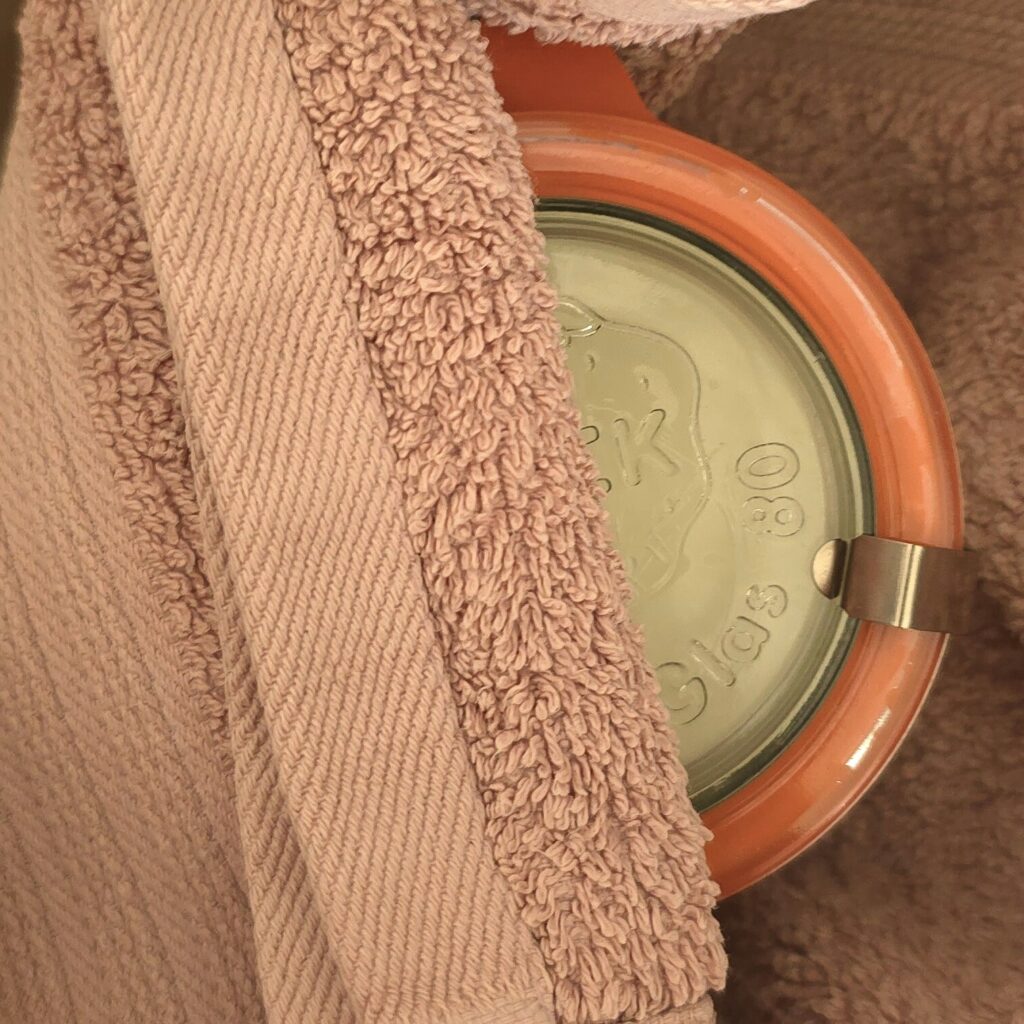
If You Don’t Have an Instant Pot.
Simply wrap your jars in a couple of layers of towels or a wool blanket and place them in the warmest spot in your kitchen. Some ovens have a yogurt function, or you can put them just close to the stove.
In this batch, I made Instant Pot jars and one outside, for example. However, this one outside always became less tangy, possibly due to the inconsistent temperature.
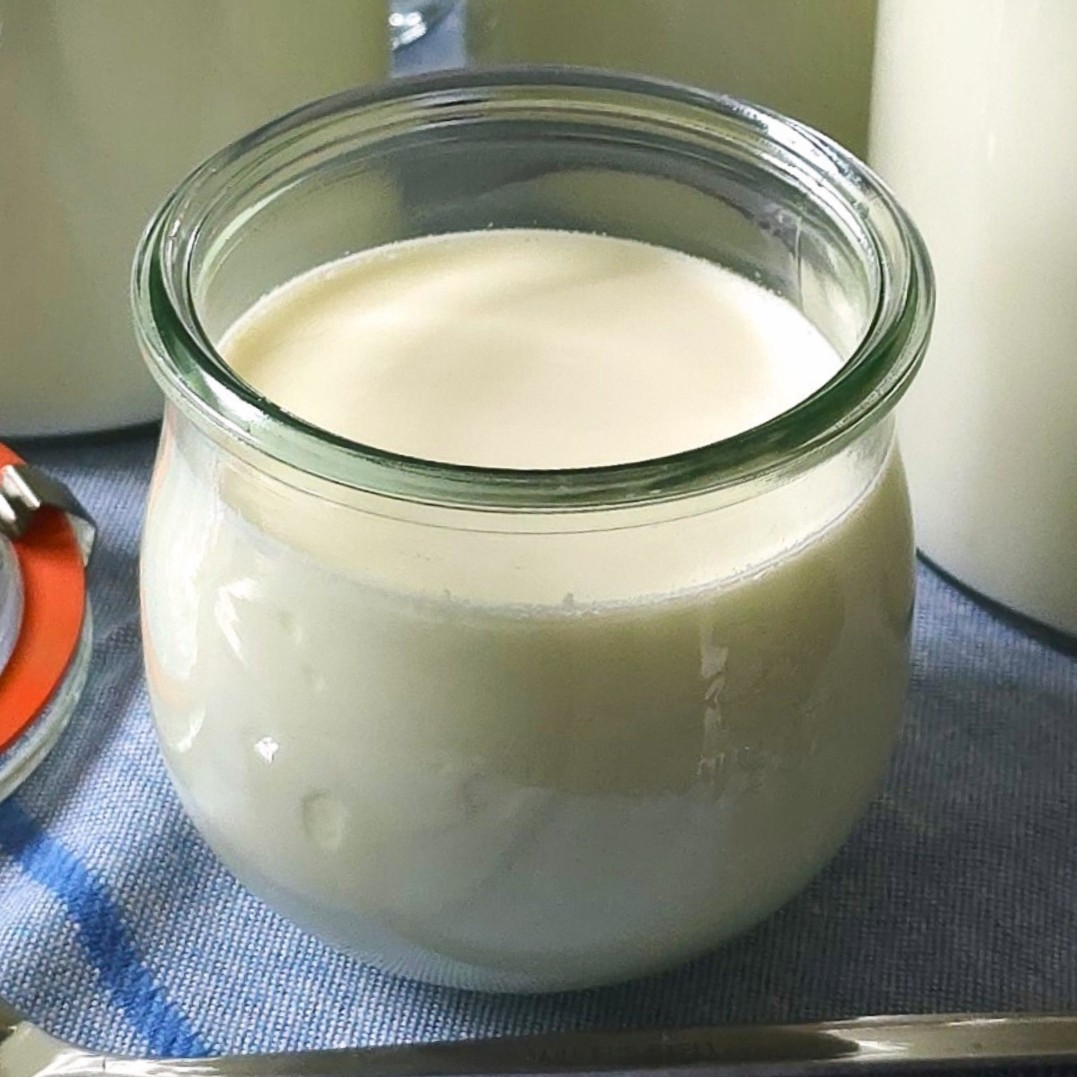
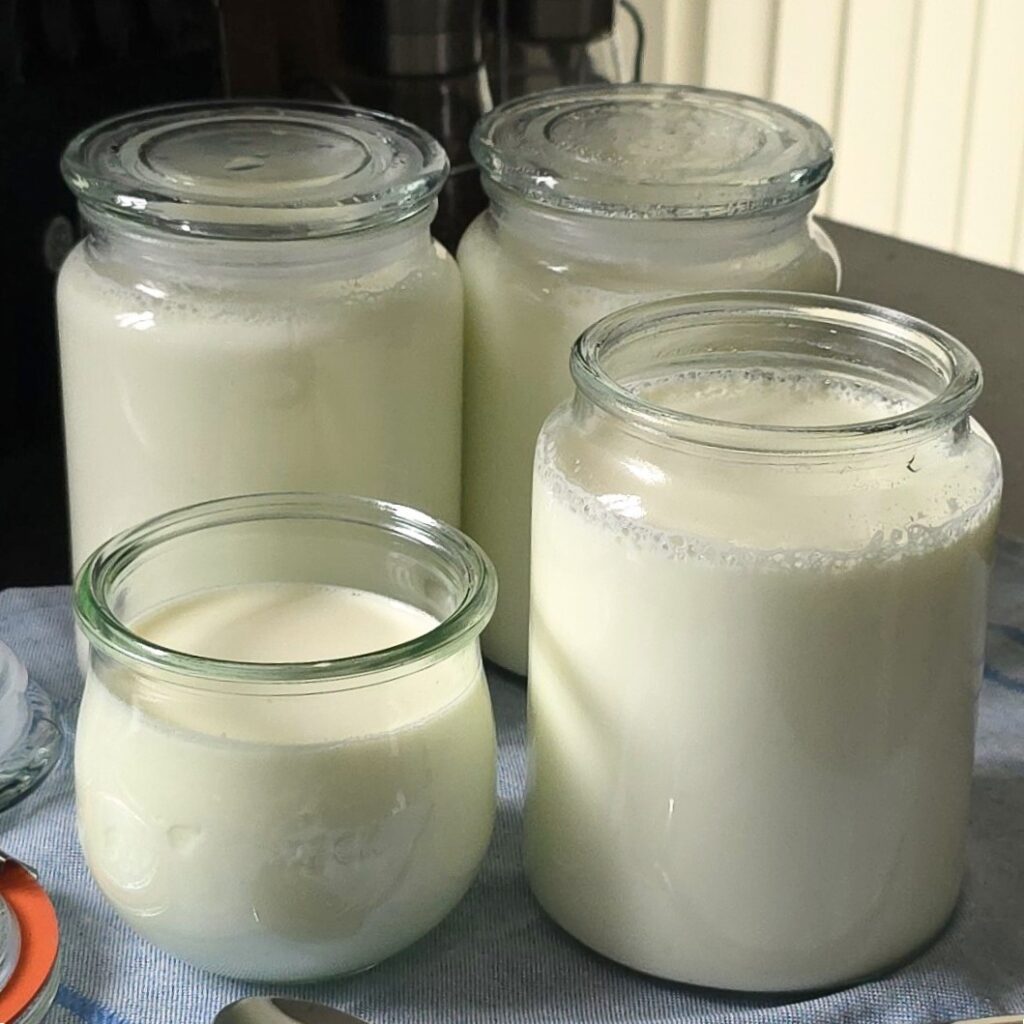
Chill & Store – Once the yogurt maker has finished its cycle, move the jars to the refrigerator to chill for a few hours before use.
Enjoy your rich, creamy homemade probiotic yogurt!
Reminder:Don’t forget to save a few spoonfuls of your homemade yogurt for your next starter—it’s the beautiful cycle of probiotic life!
Easy Bulgarian Yogurt Instant Pot Recipe Expert Tips
Save a few tablespoons of your batch as a starter for next time
Use organic, full-fat milk for the creamiest texture
Experiment with coconut or almond milk for a dairy-free twist (though it may require a thickener)
Troubleshooting Homemade Yogurt
Yogurt is too runny: Starter was weak, milk cooled too much, or fermentation was too short. Yogurt separated: Temperature fluctuated or jars weren’t fully clean, but it’s safe to eat — simply whisk. Yogurt tastes too sour: Fermented longer than 24 hours or kept too warm. Chill earlier next time. Yogurt didn’t ferment at all: The starter may have been dead, the milk may have been too hot when added, or the Instant Pot may not have been set correctly.
Nutrition Facts Table (per 100 g of 24-Hour Bulgarian Yogurt)
Nutrient
Amount per 100 g
Calories
55 kcal
Total Fat
3.6 g
Saturated Fat
2.3 g
Cholesterol
13 mg
Sodium
36 mg
Carbohydrates
2g
Sugars (Lactose)
~1 g*
Protein
3.2 g
Calcium
121 mg
Vitamin B12
~0.5 µg
Riboflavin (B2)
~0.2 mg
Phosphorus
~95 mg
*Note Because this yogurt is fermented for a full 24 hours, the live cultures consume most of the natural milk sugar (lactose). The sugar value above is an estimate. Actual levels are significantly lower than those in standard yogurt and vary depending on the milk, starter culture, and fermentation temperature.
FAQs
What makes Bulgarian yogurt different from regular yogurt?
Bulgarian yogurt is traditionally made with a unique starter culture containing Lactobacillus bulgaricus and Streptococcus thermophilus. These two bacteria work together to create the classic tangy flavour, thick texture, and powerful probiotic profile that Bulgarian yogurt is known for.
Can I make this yogurt without an Instant Pot?
Before the Instant Pot, we made yogurt using warm blankets and turned-off ovens. Any method that maintains a steady temperature of around 40–42°C is effective, but the Instant Pot simplifies this process by keeping the temperature consistent throughout fermentation.
What should I do if my yogurt comes out runny?
Runny yogurt usually happens when the milk is cooled too much before adding the starter, the starter is old, or the fermentation temperature fluctuates. You can still eat it as it’s safe and probiotic-rich, but if you prefer thicker yogurt, whisk it well, strain it through cheesecloth, or use a fresher starter culture next time.
Can I use plant milk to make this yogurt?
You can, but plant-based yogurts behave very differently. Coconut milk and almond milk often require the addition of thickeners, such as tapioca starch or agar-agar, to set properly. If you’re after a Bulgarian-style texture, dairy milk is the best choice.
How long does homemade yogurt last in the refrigerator?
Homemade Bulgarian yogurt stays fresh for 10–14 days when stored in sterilised jars in the fridge. The flavour will become slightly tangier over time, and the probiotic content remains high. Always use clean spoons when scooping to keep food fresh for longer.
How do I know if my yogurt went bad?
Spoiled yogurt has a sour smell that’s unpleasant (different from tangy), visible mould, or separation that looks unusual. If anything seems off, it’s better to discard it and start a fresh batch.
Can I use my homemade yogurt as the starter for future batches?
Yes! In fact, that’s the traditional way. Just save 2–3 tablespoons from your current batch. You can repeat this process for several generations, but eventually, the bacteria weaken. Refresh with a new pack of live cultures when the texture or tang changes.
What milk works best for Bulgarian yogurt?
Full-fat organic milk gives the creamiest result. Semi-skimmed works too, but produces a thinner yogurt. Avoid UHT milk because the heat treatment affects how well the cultures grow.
Why is straining recommended before pouring into jars?
Straining removes tiny milk solids that may cause graininess. It doesn’t change the flavour, but gives you an incredibly smooth and silky yogurt. I do this every time — it’s one of the biggest improvements in texture.
Can I shorten the fermentation time?
Yes, but the shorter the fermentation, the more lactose remains. A 24-hour fermentation is ideal if you’re lactose-intolerant or want a maximised probiotic profile. Eight-hour yogurt is milder but less gut-friendly.
Can I flavour my yogurt?
Flavouring is best done after fermentation. Add honey, vanilla, chia seeds, berries, or nuts just before serving. Adding anything during fermentation can disrupt the bacterial balance.
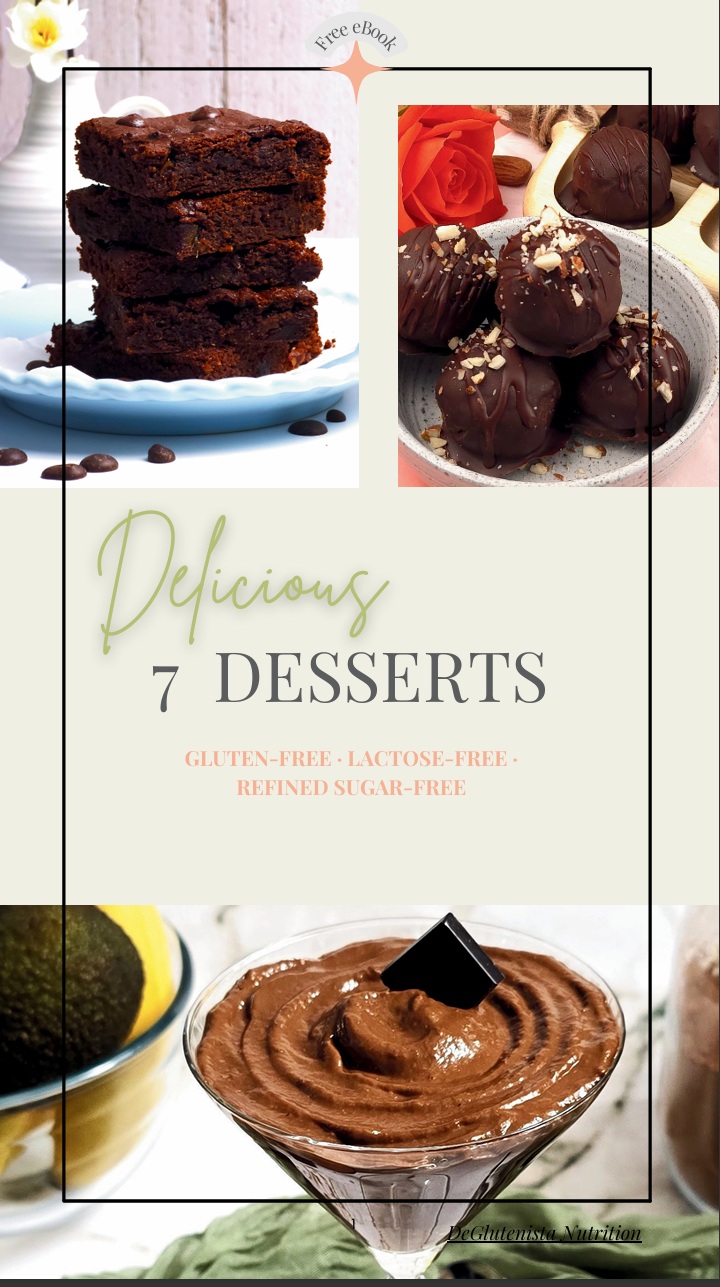
Fancy a Freebie?
Subscribe for my newsletter
and get your FREE eBook with 7 delicious gluten-free desserts!
*We will only send you gluten-free, lactose-free, refined sugar-free emails; you can unsubscribe anytime. Read our Privacy & Cookie Policy.
Bulgarian Yogurt Recipe (24-Hour Fermented) – Thick, Creamy & Gut-Friendly
Dani
This authentic Bulgarian yogurt recipe uses a gentle 24-hour fermentation to create a thick, velvety, probiotic-rich yogurt that’s naturally lower in lactose. Made with live cultures and organic whole milk, this homemade yogurt is creamy, nourishing, and incredibly easy to prepare using the Instant Pot’s yogurt function. Perfect for breakfasts, smoothies, chia puddings, savoury dips, or as a gut-friendly everyday staple.
Sterilise the glass jars, lids, and any utensils to be used. To effectively sterilise your equipment, bring water to a boil in a kettle, then pour the boiling water into the jars and lids.
Place milk into the Instant Pot. Cover with the lid and activate the 'Boil' function. Allow the milk to cool naturally in the pot. If you want it to cool quicker, fill the sink with cold water and toss some ice cubes. Place the pot into the sink. Do not cool too much.
Make sure the milk temperature is below 42°℃. A thermometer is the best tool, if unavailable, use your hands to gauge the temperature. If the pot feels too hot, allow it to cool further.
While the milk cools, prepare your equipment by emptying any boiling water from the metal bowl and yogurt pots, then cover them with a clean towel.
Gently whisk the starter culture into the milk. If it's your first batch, use a pack of live cultures; follow the instructions on the pack. If using the previous batch, add 2-3 generous tablespoons of yogurt to the milk; whisk your starter in the bowl first. Stir very well.
Strain the milk while pouring it into the jars and then secure the lids tightly. I use a tea strainer to achieve a smoother, particle-free yogurt texture.
Wash and dry your Instant Pot insert. Place the jars inside, close the lid (you don't need to seal it), and select the Yogurt function for 24 hours
Once the yogurt maker has finished its cycle, move the jars to the refrigerator to chill for a few hours prior to use.
Notes
Because this yogurt is fermented for a full 24 hours, most of the lactose (milk sugar) is consumed by the live cultures. The sugar value shown is an estimate, as homemade long-fermented yogurt naturally contains far less lactose than standard store-bought yogurt. Actual values vary depending on the milk type, starter strength, and fermentation temperature.• Save 2–3 tablespoons from this batch to use as the starter for your next yogurt. • For best texture, use full-fat organic milk. Semi-skimmed milk works but produces a thinner yogurt. • Strain finished yogurt through cheesecloth for a Greek-style thick texture. • Plant milks such as coconut or almond can be used, but need thickeners (agar-agar, tapioca starch). • If the yogurt comes out runny, it is still delicious and probiotic-rich — simply chill it longer or whisk before serving. • Start with small amounts if you’re new to fermented foods and build slowly for gut comfort. • Serve with granola, berries, chia puddings, soups, savoury dips, or in baking for a tender crumb.
nutrition student | Healthy Live Promoter | Gluten-free recipe developer
I’m Dani — a final‑year Human Nutrition student with a strong interest in gut health, gluten‑free cooking, UPF-free and whole‑food living.
Your visit really means the world to me.
On DeGlutenista Nutrition, I share simple, science‑informed recipes made without gluten or unnecessary ultra‑processed ingredients. My goal is to show you that living with dietary restrictions can still be delicious, healthy, and deeply satisfying.
This Instant Pot yogurt recipe is seriously the best! The guide is super complete and detailed. I’ve tried it both ways, with and without straining. Straining definitely made the yogurt way smoother, so thanks for that tip! I’ve noticed the main thing is to let your milk cool down before you start incubating it. Thanks for sharing this recipe!


This Instant Pot yogurt recipe is seriously the best! The guide is super complete and detailed. I’ve tried it both ways, with and without straining. Straining definitely made the yogurt way smoother, so thanks for that tip! I’ve noticed the main thing is to let your milk cool down before you start incubating it. Thanks for sharing this recipe!