How To Make Beetroot Kvass – A Natural Energy Booster
Rooted in old Eastern European traditions, beetroot kvass transforms humble beets and saltwater into a ruby-red elixir bursting with life and flavor. This recipe will show you how to make beetroot kvass you’ll ever find!
Beetroot kvass has been a beloved drink across Eastern Europe for centuries, particularly in Russia, Ukraine, and the Balkans. And, beet kvass is not only beautiful to look at but an incredible elixir for your gut and liver. Thanks to natural lacto-fermentation, it’s full of beneficial bacteria, antioxidants, and electrolytes.
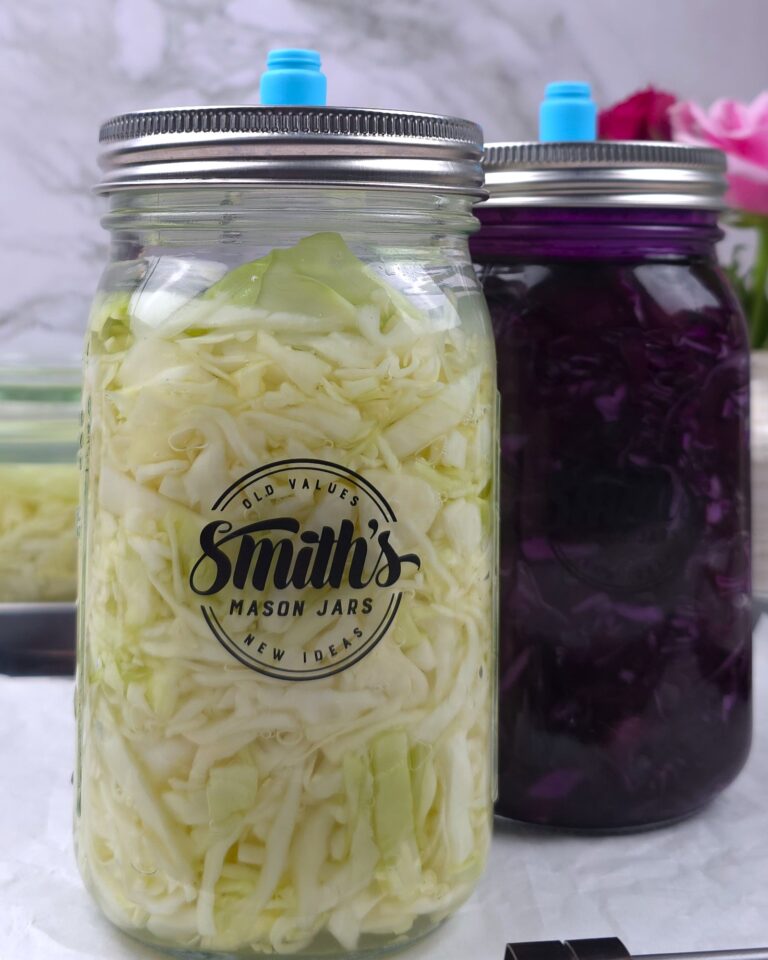
Growing up, I remember similar homemade ferments in Bulgaria, like sauerkraut containers fizzing, filling the kitchen with that unmistakable earthy aroma. Did I mention that I used to hate it? Well, now I ferment my own, so never say never!
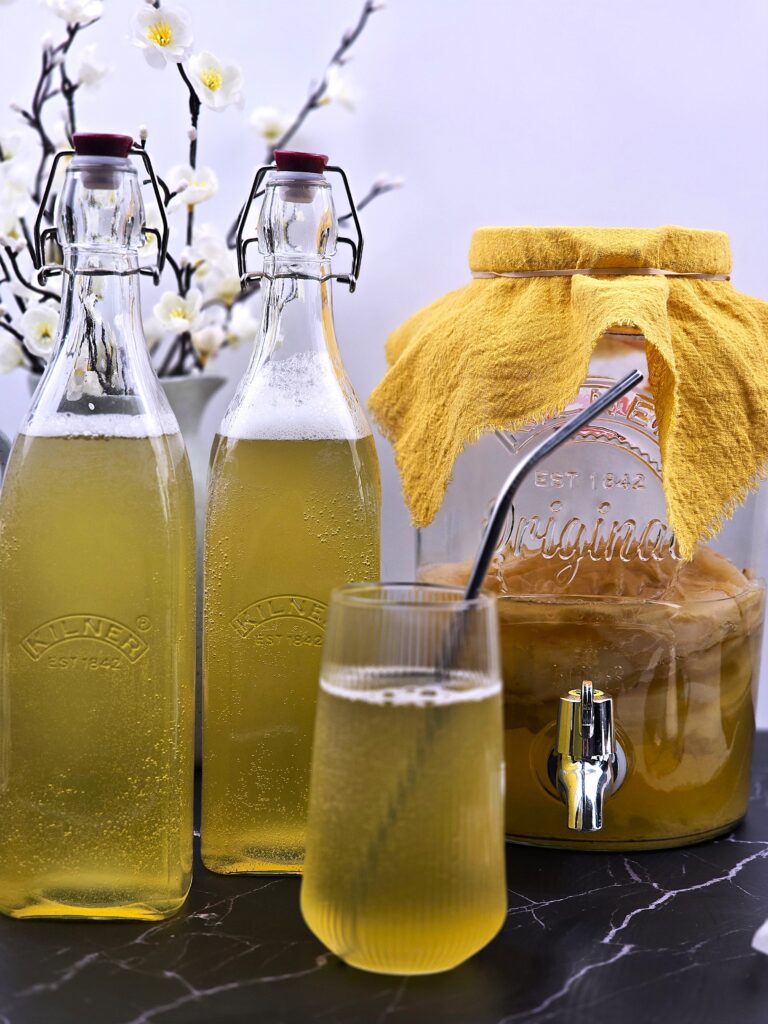
Unlike kombucha, which has a sweet, fizzy taste, beet kvass is a mildly tangy, salty (look for Ayran), but earthy drink that supports gut health, digestion, liver function, and stamina. A natural energizer without caffeine.

This post may contain affiliate links. If you make a purchase through these links, I may earn a small commission at no extra cost to you. I only recommend products I personally use and trust. Thank you for your support!
Why Make Beetroot Kvass at Home
Homemade beet kvass is far superior to store-bought versions. It’s unpasteurized, alive with beneficial microbes, and free from preservatives or refined sugar. The fermentation process breaks down beet sugars into lactic acid, creating a tangy flavor. This process enhances the bioavailability of nutrients such as folate, potassium, and nitrates, all of which are key players in heart and liver health.
Fermentation also makes beet kvass a perfect companion for those following a gut-minded diet. It naturally supports gut flora balance and digestion, ideal for anyone seeking better energy, reduced bloating, or post-meal lightness.
Beet Kvass Recipe Ingredients
For this version, we’ll use your 3% brine. The perfect strength for safe, balanced fermentation.
You’ll need:
500g raw beetroot, peeled and cut into bite-sized chunks
(Rich in antioxidants, betaine, folate, potassium, and dietary nitrates. Beets support liver detoxification and blood pressure balance.)
Beetroot Kvass Salt Ratio
1L filtered water
30g sea salt (3% brine solution)
(Acts as a natural preservative and encourages the right bacteria, Lactobacillus, to thrive.)
Optional flavor additions: a few slices of fresh ginger, garlic, or dill seeds add depth and subtle variations in flavor.
Equipment
Wooden board
Preserving jar
How to Make Beetroot Kvass (Step-by-Step)
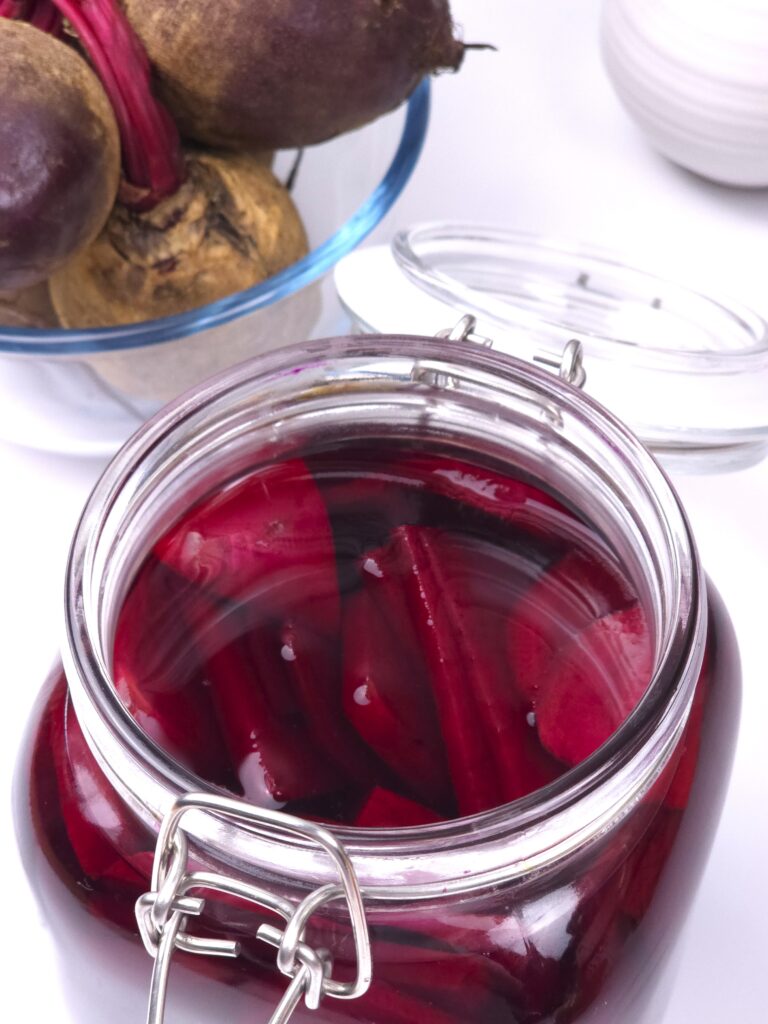
1. Prepare the Beets
Peel the beets and cut them into small, bite-sized cubes. Avoid grating them; smaller pieces can lead to over-fermentation or a mushy texture. Aim for about 2cm cubes.
2. Mix the Brine
Dissolve 30g of natural sea salt (non-iodized) in 1 liter of filtered water. Stir until completely dissolved. Chlorinated water can inhibit fermentation, so filtered or boiled-then-cooled water is best.
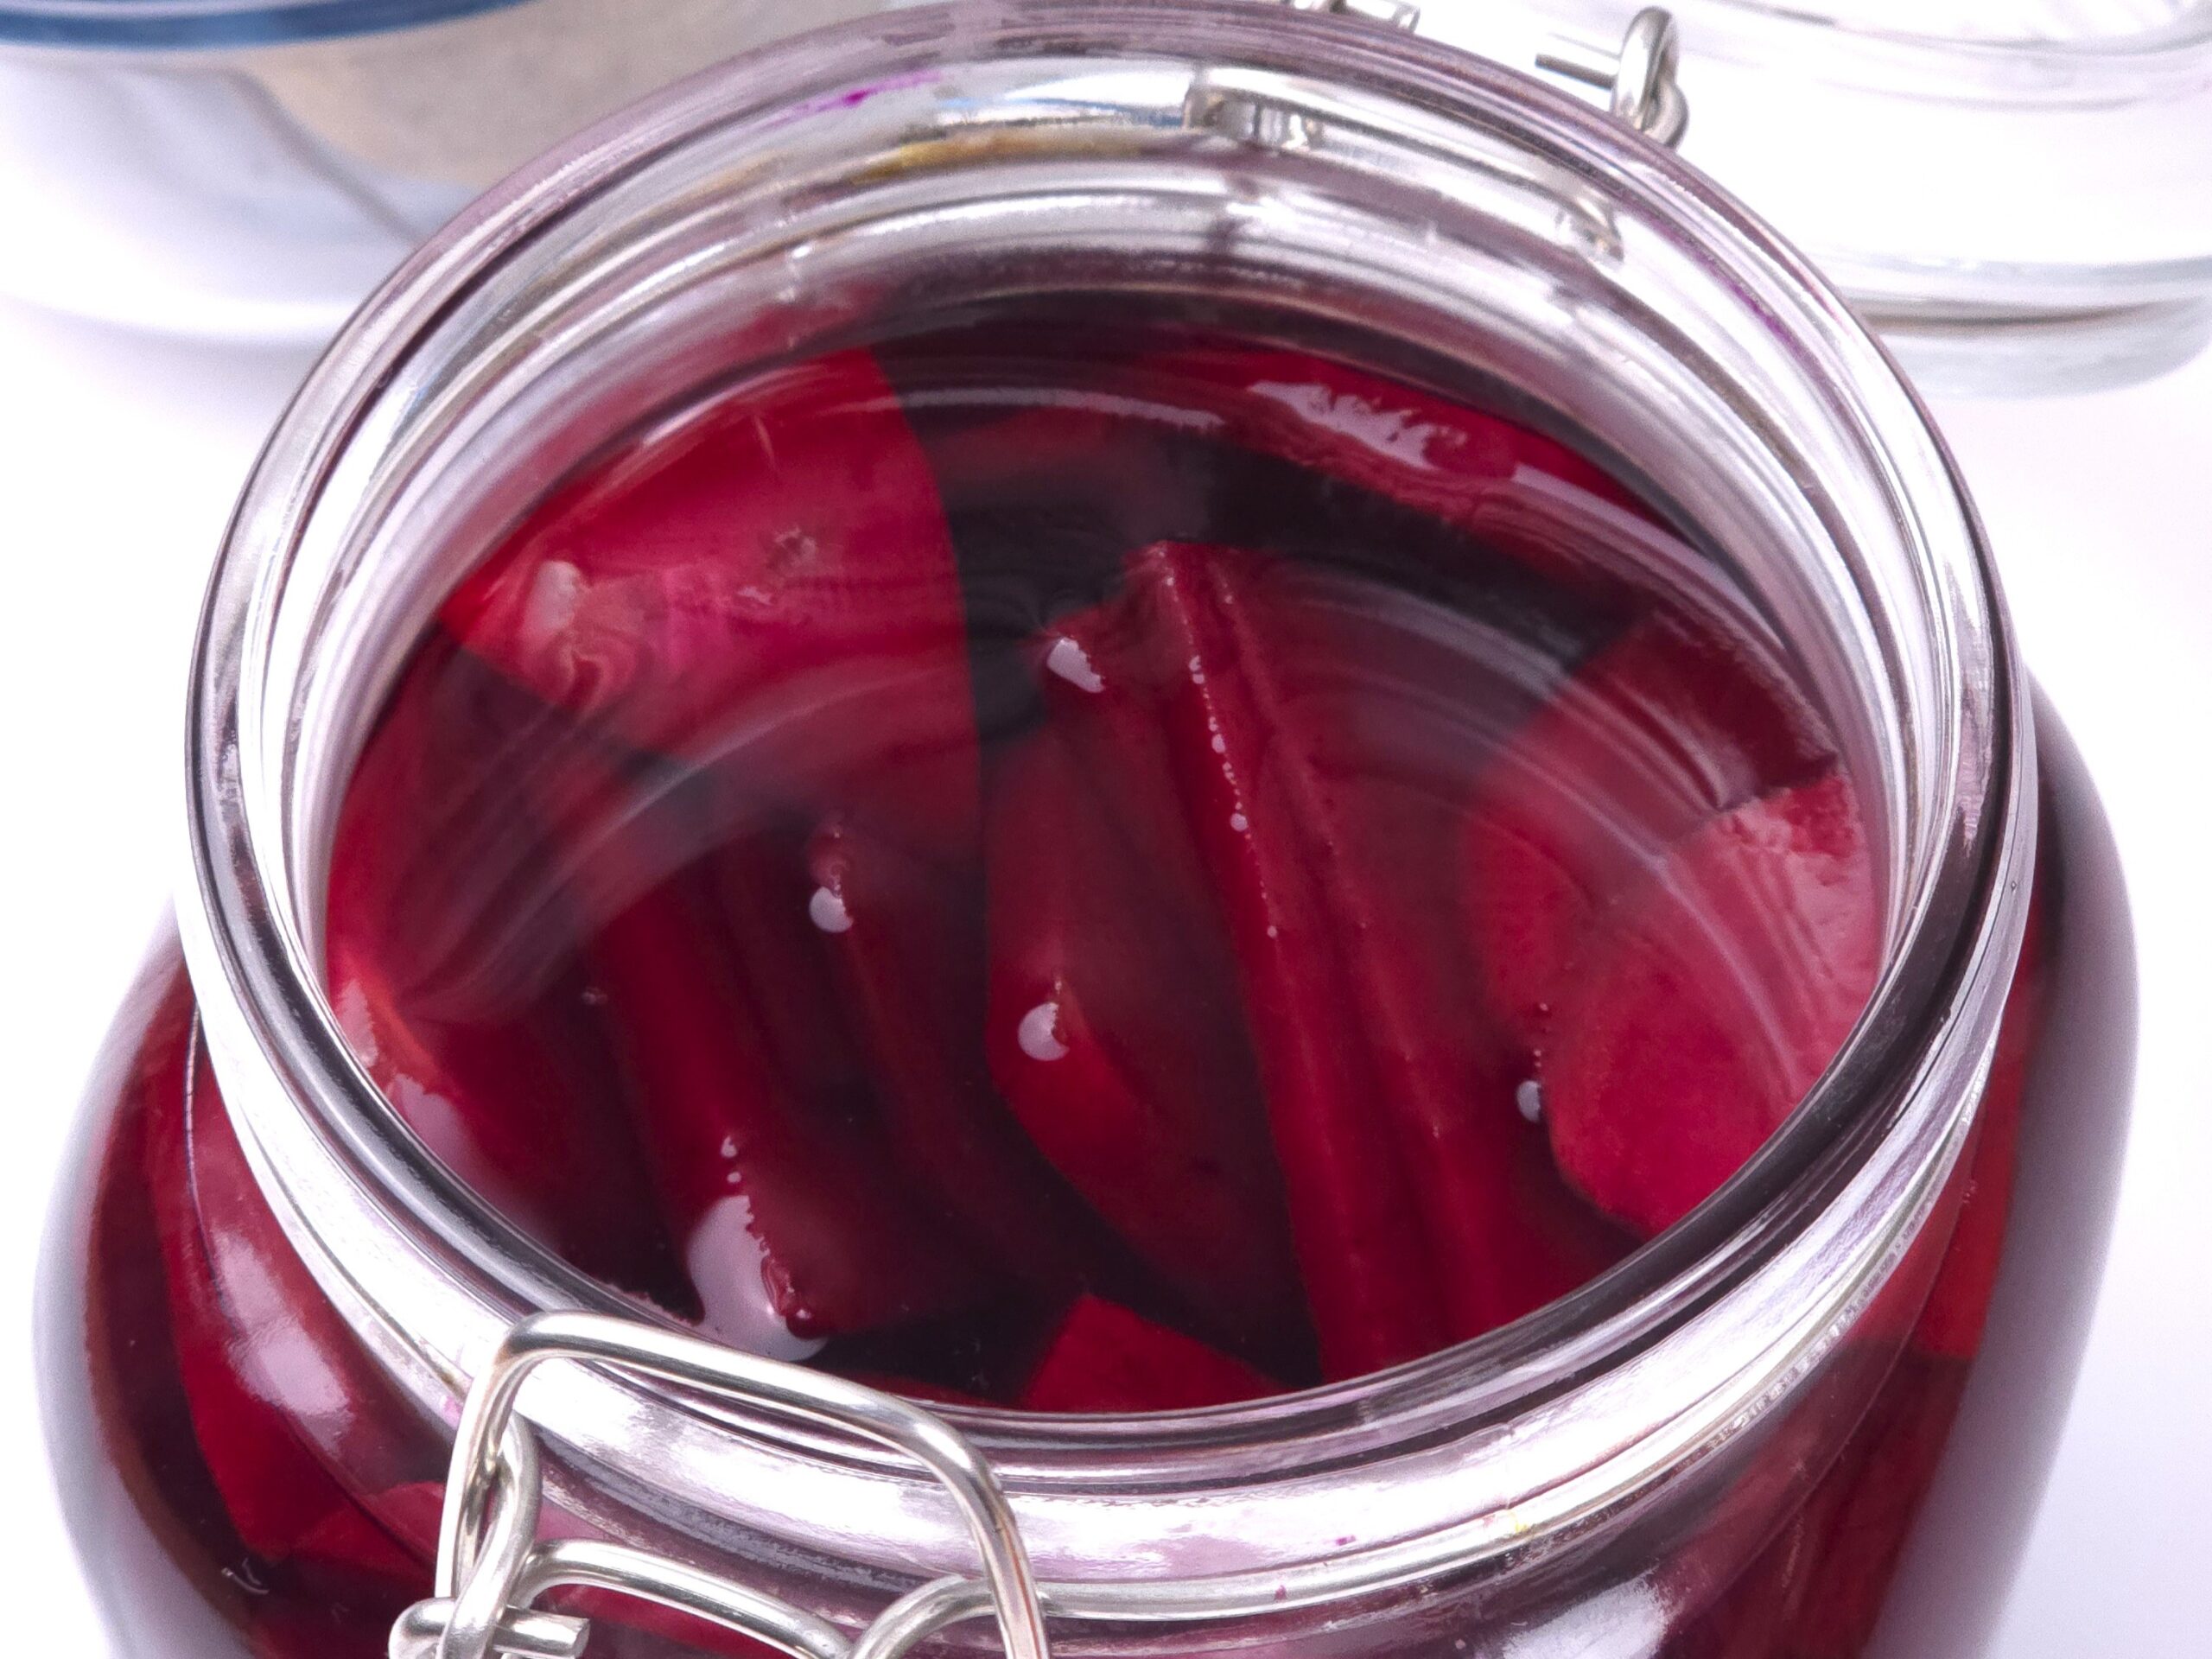
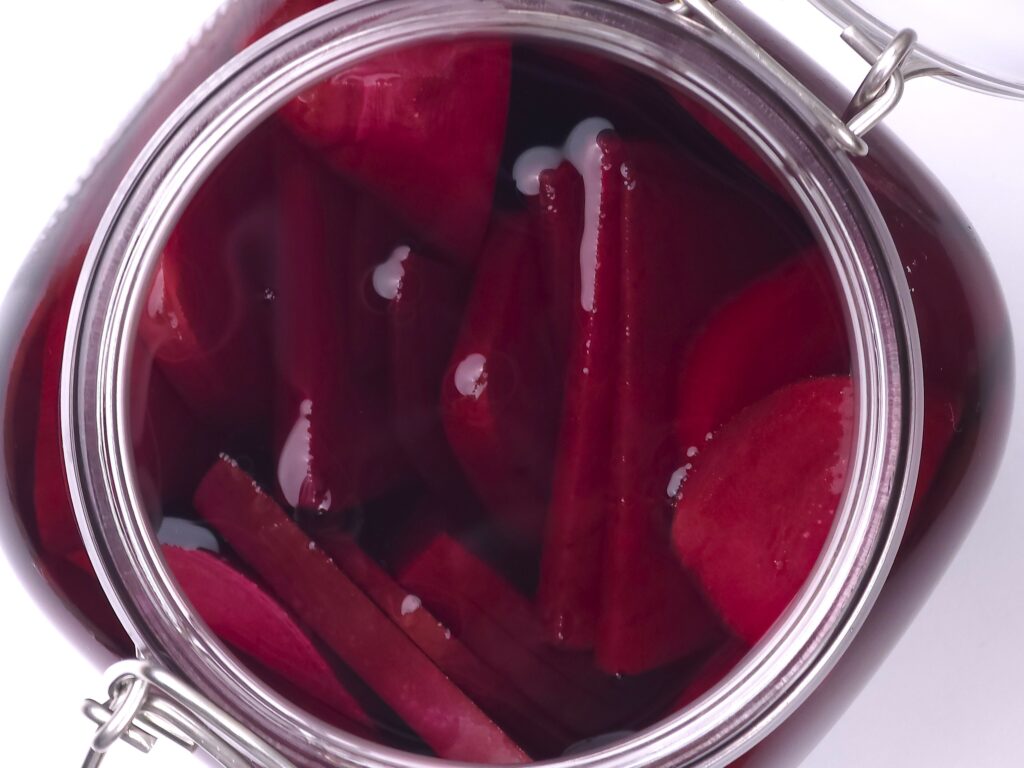
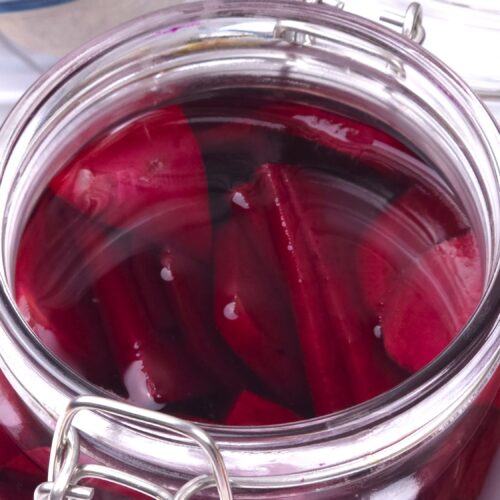
3. Assemble the Jar
Place the chopped beets in a sterilized glass jar, filling it about two-thirds full. Pour in the brine until the beets are fully submerged, leaving 2–3cm headspace at the top. Add your flavor additions if desired.
4. Weigh It Down
To prevent mould, the beets must stay submerged. Use a small glass weight or a piece of cabbage leaf to keep everything below the brine line.
5. Ferment
Cover the jar loosely with a lid or a cloth secured with an elastic band. Place it in a shallow bowl or baking dish to catch any overflow, which indicates fermentation is occurring. Leave the jar at room temperature (between 18–22°C) for 3 to 5 days. You should start to see bubbles forming, which means that it works.
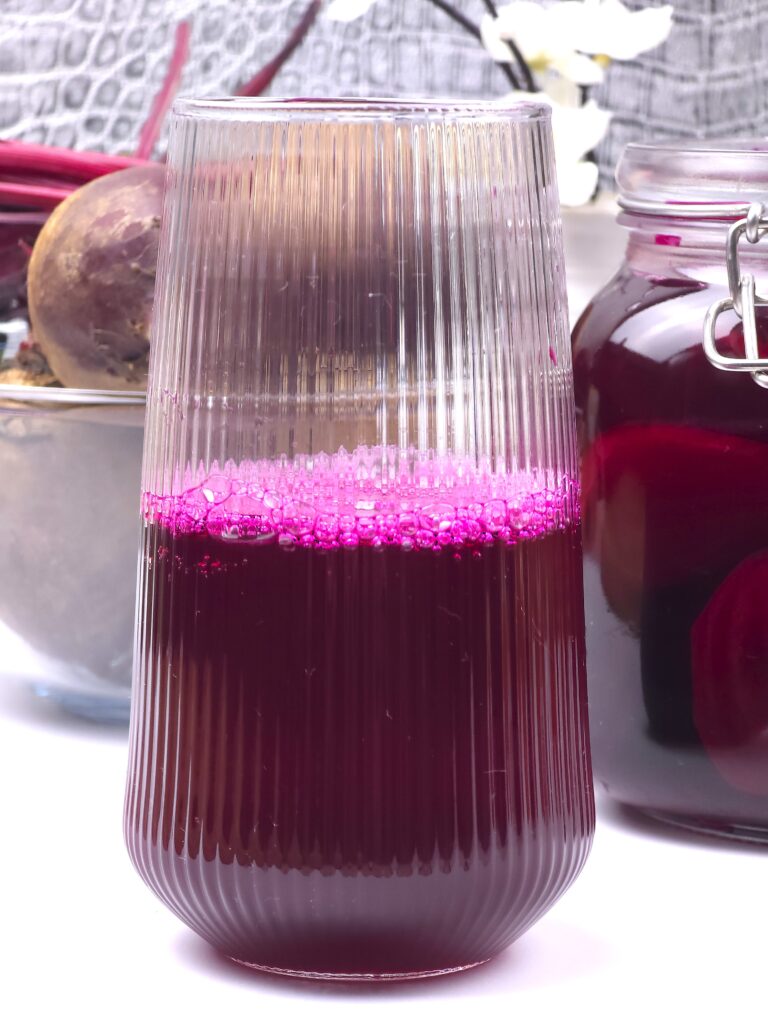
6. Taste and Adjust
After 3 days, start tasting. The kvass should be tangy, lightly salty, and earthy but not overly sour. When you like the flavor, strain the liquid into a clean bottle, refrigerate, and enjoy.
The remaining beets can be reused once for a second, lighter batch, simply refill with fresh brine and ferment again for 2–3 days.
Beet Kvass Serving Ideas
Traditionally, beet kvass is sipped in small glasses before meals to stimulate digestion. I love serving mine chilled, especially before a meal, or blending a small shot into smoothies for a probiotic kick and gorgeous color.
If you’re new to fermented foods, start with a tablespoon and see how you feel. This amount delivers millions of probiotics, promoting gut diversity, which is beneficial for your health. You can sip a little with each meal or take a shot once a day. If the taste is too strong, dilute it with water.
You can also use it as a natural salad dressing base mixed with olive oil, lemon juice, and herbs — it brings a gentle fermented note that livens up greens beautifully.
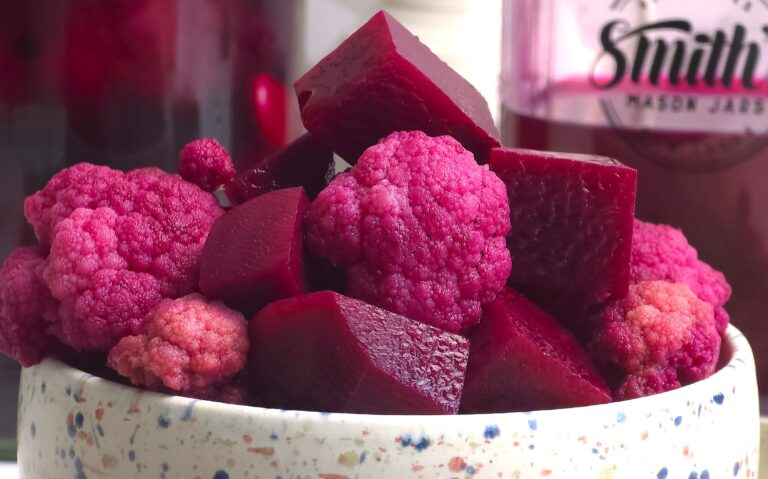
Of course, you can eat the beets, too! Add them to another ferment, mix them with other salads, or just serve them as a side dish.
Tips for Perfect Fermentation
Always use non-chlorinated water and unrefined salt.
Keep the jar away from direct sunlight during fermentation.
If you see white yeast (kahm yeast) forming, it’s harmless, just skim it off.
Avoid using metal utensils directly in the ferment.
Once refrigerated, your kvass will last up to 1 month.
Reuse the beets for a second batch but not a third, flavour and nutrients diminish.
Nutritional & Gut Health Benefits
Fermented beetroot kvass is very easy to make at home. Beet kvass is loaded with antioxidants, probiotics, and essential minerals. A 100ml serving typically contains around 20 calories, almost no fat, and a range of B vitamins and potassium. It also provides naturally occurring nitrates, which improve circulation and athletic performance. The fermentation process increases nutrient bioavailability and introduces beneficial bacteria that can support digestion, improve gut flora diversity, and aid liver cleansing.
FAQ – Fermented Beetroot Kvass
Can I use Himalayan salt instead of sea salt?
Yes, as long as it’s unrefined and without anti-caking agents.
What if mould forms on top?
Mould usually appears if the beets aren’t fully submerged. Discard and start again if the mould is fuzzy or coloured.
Can I use cooked beets?
No, fermentation relies on natural sugars in raw beets. Cooked beets won’t ferment.
How do I know it’s fermented enough?
When small bubbles appear, and the flavor turns tangy rather than sweet, it’s ready.
Can I use the leftover beets after straining?
Yes, once more for a lighter kvass or chop them into salads — they’re probiotic-rich too.
How long can I keep beet kvass?
Refrigerated in a sealed bottle, it keeps up to 4 weeks.
Fancy a Freebie?
Subscribe to my newsletter
and get your FREE eBook with 7 delicious gluten-free desserts!
*We will only send you gluten-free, lactose-free, refined sugar-free emails; you can unsubscribe anytime. Read our Privacy & Cookie Policy.
Fermented Beetroot Kvass Recipe
Equipment
Ingredients
- 500 g Beetroot raw, peeled, chopped into small cubes
- 1 L Water filtered
- 30 g Salt sea, for 3% brine solution
- 2 slices Ginger fresh, optional
Instructions
- Dissolve the sea salt in filtered water to make a 3% brine.
- Place the chopped beets into a sterilized glass jar, filling it two-thirds full.
- Pour the brine to cover, leaving 2–3cm headspace.
- Add optional flavorings if desired.
- Weigh down the beets to keep them submerged.
- Cover with a loose lid or cloth and ferment at room temperature (18–22°C) for 3–5 days.
- When tangy to taste, strain and refrigerate.
Notes
YourDani x x
We invite you to support our blog by sharing your rating of the recipe. Your comments, recipe adaptations, suggestions, and questions are warmly welcomed below. Our community values your insights, and we strive to respond personally within 24 hours. Thank you for contributing!
Mention @deglutenistanutrition and tag #deglutenistanutrition — you’ll make my day! 🌿✨

About the Author: Dani
Gluten-Free Recipes | Gut Health | Metabolic Health
Hi! I’m Dani, a Human Nutrition graduate with a strong interest in gluten-free cooking, gut health, UPF-free, and whole-food living. Your visit means the world to me!
I share simple recipes, nutrition tips, lifestyle experiences, and insights into living with food intolerances.