Carrots, Cauliflower, and Celery Sticks – Wild Fermentation Magic in a Jar
Fermented carrots, cauliflower, and celery sticks are one of the simplest ways to bring probiotic-rich foods into your diet. With just a handful of ingredients and a little patience, you can transform everyday vegetables into a tangy, gut-friendly treat.
Fermentation has not always fascinated me. Growing up in Bulgaria, I used to wrinkle my nose when sauerkraut was on the table. I don’t exaggerate, fermented and pickled foods are staples in my homeland.
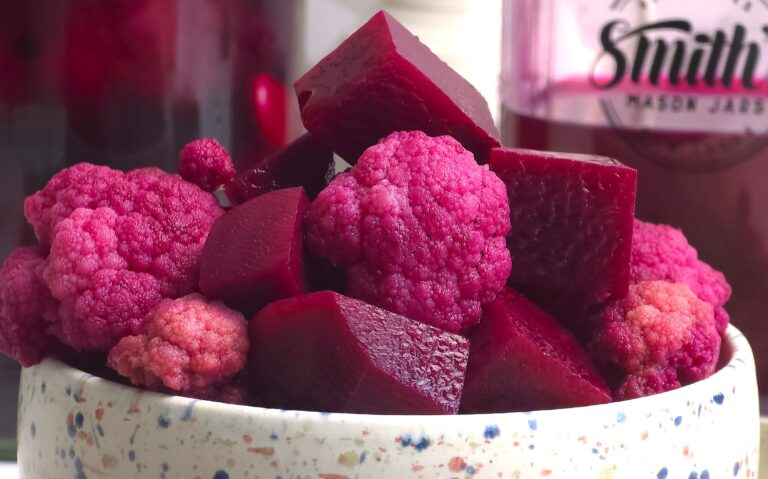
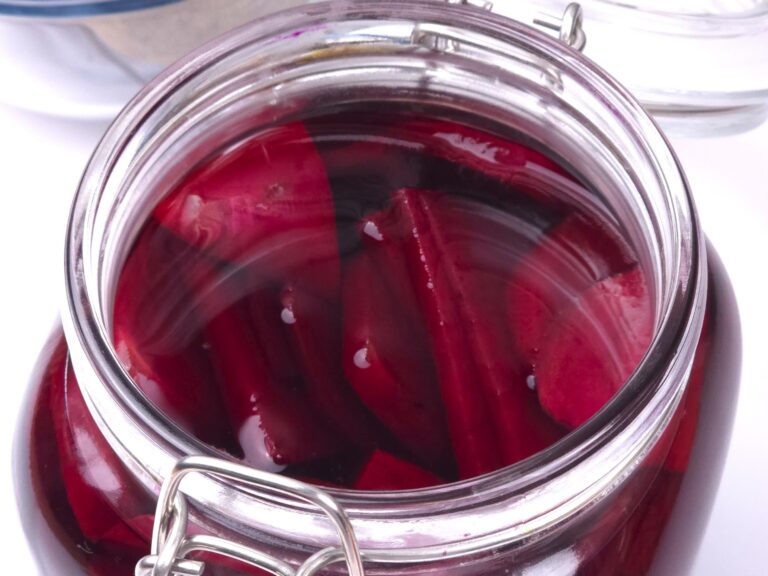
Every household had its own preparations for winter from summer through late autumn. Piles and piles of colorful vegetables, such as Beetroot and Cauliflower, were prepared for the cold winter.
Well, I liked a few of them, such as pickled cucumber (also known as gherkin), mixed with mayo or served over a bite of pate.
I only ate the cauliflowers and carrots, leaving the others on my plate, such a fuss. Now, it is not a coincidence that one of my first fermentations included these vegetables; I still love them.

This post may contain affiliate links. If you make a purchase through these links, I may earn a small commission at no extra cost to you. I only recommend products I personally use and trust. Thank you for your support!
Today, I find magic in this process, mainly because wild fermentation is one of the world’s oldest, most natural preservation methods. In this post, I’ll share how to make a simple, wholesome batch of fermented carrots, cauliflower, and celery sticks.
This recipe is bursting with gut-friendly bacteria. This process relies on wild fermentation, unlike vinegar pickling, which preserves vegetables through acidity.
It uses only vegetables, water, and salt, creating an environment where beneficial lactic acid bacteria thrive. The result? Crunchy, tangy veggies that are as nourishing as they are delicious.
Why Fermented Vegetables Are So Good for Gut Health?
Fermentation isn’t just about preserving vegetables. It’s about creating food that supports your body from the inside out.
Through lacto-fermentation, the naturally present lactic acid bacteria convert sugars and starches in vegetables into lactic acid, which acts as a preservative and enhances flavor.
Eating fermented foods regularly can:
Promote a healthy gut microbiome, digestion, and overall well-being.
Boost nutrient bioavailability; for example, increasing B vitamins and vitamin K2.
Add flavor depth and complexity without additives.
Provide a low-calorie, fiber-rich, nutrient-dense part of your balanced daily diet.
Ingredients and Equipment:
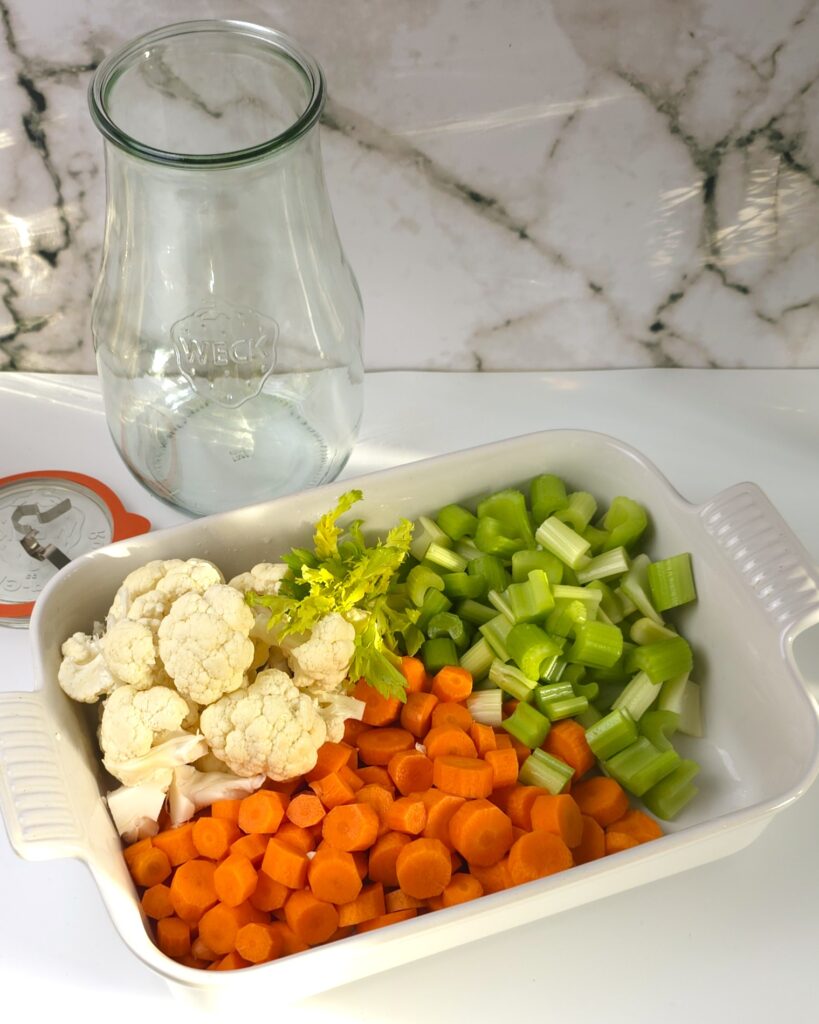
For one medium-sized glass jar (mine is Fermentation jar 2.7L):
Carrots – Crunchy, sweet, and rich in beta-carotene (vitamin A), which supports vision and immunity.
Cauliflower – A cruciferous vegetable high in vitamin C, vitamin K, and fiber. Its mild taste balances the tang.
Celery sticks – Full of natural sodium, potassium, and antioxidants. Adds freshness and crunch.
Sea salt – Use pure, additive-free sea salt. I prepared a 3% brine (30g sea salt dissolved in 1 L of water).
Filtered, boiled, and cooled water – Important to avoid chlorine, which can inhibit fermentation.
Cabbage leaves work as a natural weight and barrier to submerging vegetables.
Note! Always sterilize with boiling water to ensure no unwanted bacteria are present.
How to Ferment Carrots, Cauliflower, and Celery at Home – Step by Step:
Prepare your jar and tools. To sterilize them, rinse the jar and utensils with boiled water. Cleanliness is key to successful fermentation.
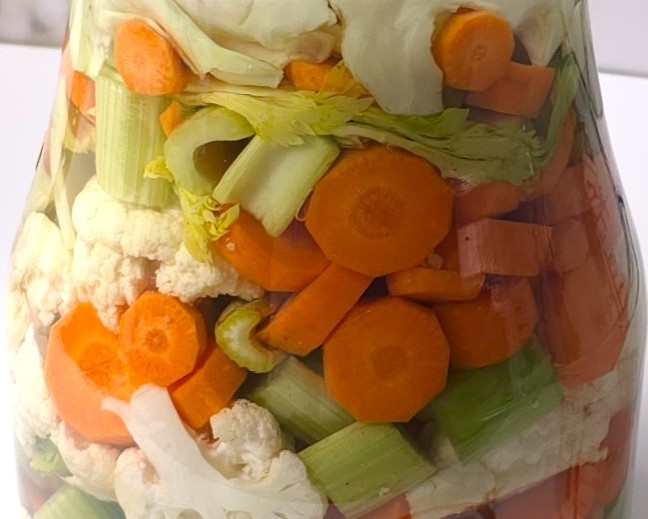
Chop the vegetables – Using a sharp knife, cut the carrots, cauliflower, and celery into bite-sized sticks or florets. This gives an even texture and makes them easy to snack on later.
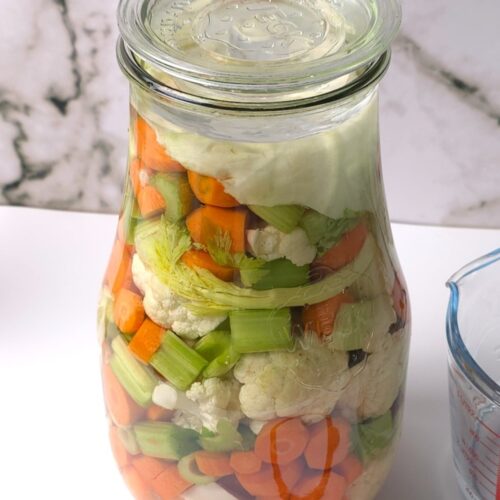
Pack the jar – Layer the vegetables into the jar, pressing them down firmly but leaving some space at the top.
Make the brine – Dissolve 30g sea salt in 1 L of filtered or boiled, cooled water. Pour the brine into the jar until all the vegetables are covered.
Submerge with a cabbage leaf. To keep the vegetables submerged, place a clean cabbage leaf over them. Add a fermentation weight or a heavy glass to stop them from floating.
Ferment at room temperature – Cover the jar loosely (don’t seal airtight) to allow gases to escape. Place it in a dark corner at room temperature (18–22°C is ideal).
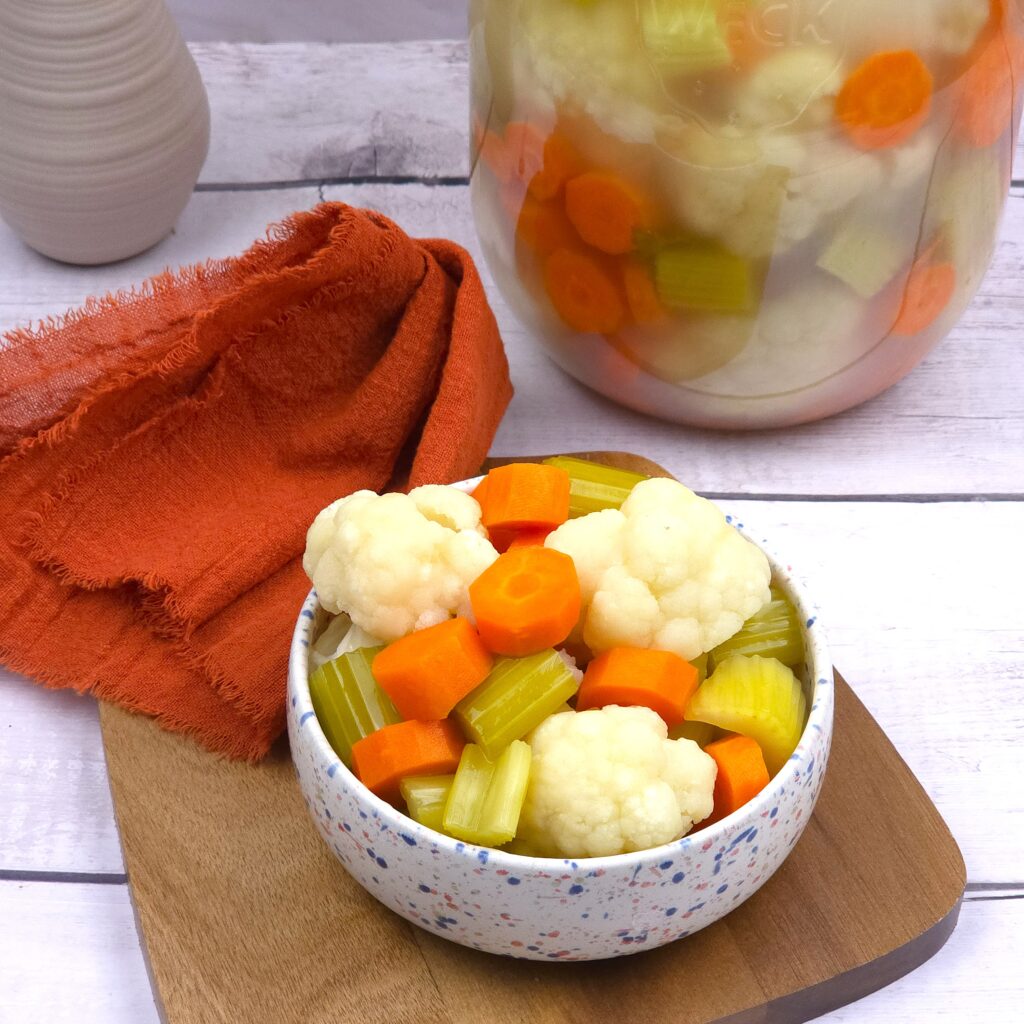
Wait and taste – After 5–7 days, taste your vegetables. They should be pleasantly sour, crisp, and tangy. If you prefer stronger flavors, ferment for up to 10 days.
Store – transfer the jar to the fridge to slow the fermentation once the tanginess reaches your desired level. Enjoy within a month.
What Makes Lacto-Fermentation Different From Pickling?
It’s important to understand the difference between wild fermentation and pickling:
Pickling – Uses vinegar (or another acid) to preserve vegetables. The flavor is sharp and instant, but it doesn’t produce probiotics.
Fermentation relies on natural bacteria converting sugars into lactic acid. This creates probiotics, vitamins, and a unique depth of flavor.
Wild fermentation, also known as lacto-fermentation, is a dynamic and beneficial process for gut health, whereas vinegar pickles are stable but lack the live cultures present in wild fermentation.
Tips for Perfect Fermented Veggies
Always ensure vegetables stay submerged — exposure to air can cause mould.
If you notice white, harmless kahm yeast on the surface, simply skim it off.
Avoid using iodised salt or tap water with chlorine, as they can interfere with fermentation.
Be patient — the flavour improves with time.
Serving Suggestions
These fermented vegetables are versatile:
Enjoy them as a probiotic snack straight from the jar.
Add them to a mezze platter with hummus and gluten-free crackers.
Chop them into salads for a tangy, crunchy treat.
Use them as a side dish to complement rich meals, such as grilled meats or stews.
FAQ
How do I know if my fermentation has gone wrong?
If you notice fuzzy mould, a foul smell (rotten rather than sour), or slimy vegetables, discard and start again.
Can I add spices?
Yes! Garlic, black peppercorns, mustard seeds, or dill are lovely additions. Just avoid powders, as they can cloud the brine.
Do I need a special fermentation lid?
Not necessarily. A regular jar with a loose lid or a cloth works fine. Just make sure gases can escape.
Why is my brine cloudy?
That’s normal! Cloudiness indicates active fermentation.
How long do fermented veggies last?
Stored in the fridge, they’ll last 3–4 weeks. The flavor intensifies over time.
Are fermented vegetables safe for everyone?
Yes, but if you’re new to them, start with small amounts to let your gut adjust.
Fancy a Freebie?
Subscribe to my newsletter
and get your FREE eBook with 7 delicious gluten-free desserts!
*We will only send you gluten-free, lactose-free, refined sugar-free emails; you can unsubscribe anytime. Read our Privacy & Cookie Policy.

Fermented Carrots, Cauliflower & Celery Sticks
Equipment
Ingredients
- 1 kg Carrots peeled and cut into sticks
- 1 medium Cauliflower in florets – rinsed
- 4 Celery sticks chopped into even pieces
- 1 L Water filtered or boiled-and-cooled
- 30 g Salt sea or pink, for a 3% brine
Instructions
- Prepare tools: Sterilize your glass jar and utensils by rinsing them with freshly boiled water. Clean tools prevent unwanted bacteria.
- Prep the vegetables: Chop the carrots, cauliflower, and celery into similar-sized pieces for even fermentation.
- Pack the jar: Layer the vegetables into the sterilized jar, pressing them down gently but leaving about 2cm headspace.
- Make the brine: Dissolve 30g sea salt in 1L of filtered or boiled-and-cooled water. Pour the brine over the vegetables until completely covered.
- Keep submerged: Place a cabbage leaf on top of the vegetables and weigh it down with a fermentation weight or a clean glass to keep everything submerged in the brine.
- Ferment: Cover the jar loosely with its lid or cloth to allow gases to escape. Leave at room temperature (18–22°C) for 5–7 days.
- Taste and store: After 5 days, taste for flavor. If you prefer a tangier taste, leave for up to 10 days. Once happy with the flavor, move the jar to the fridge for slow fermentation.
Notes
- Always ensure vegetables remain submerged; exposure to air can cause mould.
- Cloudy brine and gentle bubbling are normal signs of fermentation.
- Avoid iodized salt or chlorinated tap water, as they may hinder bacterial growth.
- Best enjoyed within 3–4 weeks when kept refrigerated.
- Add aromatics such as garlic, dill, or chili flakes for extra flavor twists.
YourDani x x
Nutrition
Mention @deglutenistanutrition and tag #deglutenistanutrition — you’ll make my day! 🌿✨


About the Author: Dani
Gluten-Free Recipes | Gut Health | Metabolic Health
Hi! I’m Dani, a Human Nutrition graduate with a strong interest in gluten-free cooking, gut health, UPF-free, and whole-food living. Your visit means the world to me!
I share simple recipes, nutrition tips, lifestyle experiences, and insights into living with food intolerances.