How to Bake Gluten-Free: Perfect Results Every Time
Crumbly cookies, tasteless cakes, or dry desserts. If you’ve experienced gluten-free bake disasters—you’re not alone. Gluten-free baking can be tricky to master, and a guide has been created for you. I know the pain, I’ve been through it too.
Diving into the world of gluten-free baking can feel like an entirely new frontier. Without traditional wheat-based flours, achieving the perfect texture and flavour can seem daunting—but fear not! With the proper techniques and tools, you’ll master gluten-free baking in no time.
This guide was created after over 10 years of experimenting, some successes, and others entirely disastrous. However, I’m still inspired and learning from the best—The Bojon Gourmet and The Loopy Whisk. Thank you, girls, for your hard work!
Why Gluten-Free Baking is Different
Gluten is the protein found in wheat, barley, and rye. It gives baked goods structure and elasticity. Without it, baked goods can become crumbly or dense. Understanding this is the first step toward successful gluten-free baking recipes.
Instead of relying on gluten, you’ll use a combination of flour and binders to mimic its properties. This often means experimenting with blends until you find what works best for your favourite recipes.
Must-Have Ingredients for Gluten-Free Bake Success
To achieve perfect results, here are some essentials for your pantry:
- Gluten-Free Flours: Almond flour, coconut flour, rice flour, and oat flour are standard options. Each has unique properties, so blending them often yields the best results.
- Binders: Psyllium husk, xanthan gum, or chia seeds help hold your baked goods together.
- Leavening Agents: Baking powder and baking soda create lift and fluffiness.
Pro Tip: Always check for certified gluten-free labels to avoid cross-contamination.
Exploring Gluten-Free Flour Mixes
After experimenting with several pre-made blends, I started crafting my own flour mixes. This flexibility allowed me to tweak the texture of my baked goods, making them just right for my family’s tastes. Gluten-free baking truly became enjoyable.
One secret to successful gluten-free baking is using the right flour mix. Pre-made gluten-free blends available at stores often combine multiple flours, starches, and binders to mimic the properties of wheat flour.
Of course, today’s life is hectic, and it is handy to use ready-mixed gluten-free flour. Just make sure to read about the ingredients and follow the descriptions below. I will link all of my homemade mixes with their ready-to-use store versions for your convenience.
However, crafting your own mix can offer even more control over taste and texture.

Understanding Single Gluten-Free Flours
- Almond Flour adds a rich, nutty flavour and moist texture. It is best for cakes, cookies, and muffins. It works well combined with starches for structure.
- Coconut Flour absorbs a lot of moisture, so use it sparingly and adjust liquids accordingly. It’s great for pancakes or dense bakes like brownies.
- Rice Flour: A versatile base for many blends, rice flour offers a mild flavour but can feel gritty if not mixed with starches.
- Tapioca and Potato Starch: These starches lighten the texture and add elasticity, essential for replicating wheat-like results.
- Sorghum and Buckwheat Flour: These whole-grain options add fibre and a robust flavour to hearty bread and savoury bakes.
- All-Purpose Gluten-Free Mix: This versatile mix typically includes a blend of rice flour, potato starch, and tapioca starch. It’s a go-to for cookies, muffins, and pancakes.
- Whole-Grain Mixes: For a more nutrient-dense option, combine flours like sorghum, millet, or buckwheat with starches. These mixes work well for hearty bread and savoury baked goods.
- Nut-Based Mixes: Almond and hazelnut flours bring richness and moisture, perfect for cakes and quick breads. Pair them with lighter starches to balance the density.
- Customizable Mixes: Tailor your mix to specific recipes. For example, using a higher ratio of tapioca starch can make cakes fluffier, while a touch of coconut flour adds structure to cookies.
Crafting Your Own Flour Mixes
Instead of relying on store-bought blends, create custom mixes tailored to your needs:
- All-Purpose Gluten-Free Mix:
Combine 2 cups rice flour, 2/3 cup potato starch, and 1/3 cup tapioca starch. This works well for most baked goods. - High-Protein Bread Mix:
Mix 2 cups sorghum flour, 1/2 cup almond flour, and 1 cup tapioca starch. Add psyllium husk or xanthan gum for binding. - Nut-Free Blend:
Use 2 cups oat flour, 1 cup tapioca starch, and 1/2 cup coconut flour for nut-free baking.
Pairing Flour Mixes with Recipes
- Cookies: Opt for a mix with almond flour for chewiness and rich flavour.
- Cakes: Use a light mix with starches to create a fluffy crumb.
- Bread: A hearty mix with sorghum or buckwheat flour ensures structure and flavour.
Bonus Tips for Gluten-Free Flour Storage and Usage
- Store Properly: Keep flour in airtight containers to prevent moisture and bugs. Refrigerate nut-based flours for a longer shelf life.
- Measure by Weight: Gluten-free flours can vary in density, so using a kitchen scale ensures accuracy.
- Hydrate Your Dough: Gluten-free flours need time to absorb liquids, so allow batters to rest before baking for better texture.
Tips to Avoid Common Pitfalls
- Measure Accurately: Gluten-free flours behave differently from wheat flour. Weighing ingredients is more precise than using measuring cups.
- Don’t Skip the Resting Time: Allow batters to rest before baking; this allows the flour to hydrate properly and improves texture.
- Experiment with Blends: Single flours rarely work well alone in gluten-free baking. Use a combination for the best structure and flavour.
FAQs
How can I make my gluten-free bread less crumbly?
Add a binder like psyllium husk or xanthan gum to improve elasticity and structure.
Can I substitute gluten-free flour one-to-one for regular flour?
Not always. It depends on the recipe. A gluten-free flour blend is often better than a single type of flour.
What’s the best way to store gluten-free baked goods?
Store them in an airtight container or freeze them for a longer shelf life. Gluten-free baked goods tend to dry out faster than traditional ones.
With these tips and tricks, gluten-free baking becomes an exciting challenge rather than a daunting task. Happy baking!
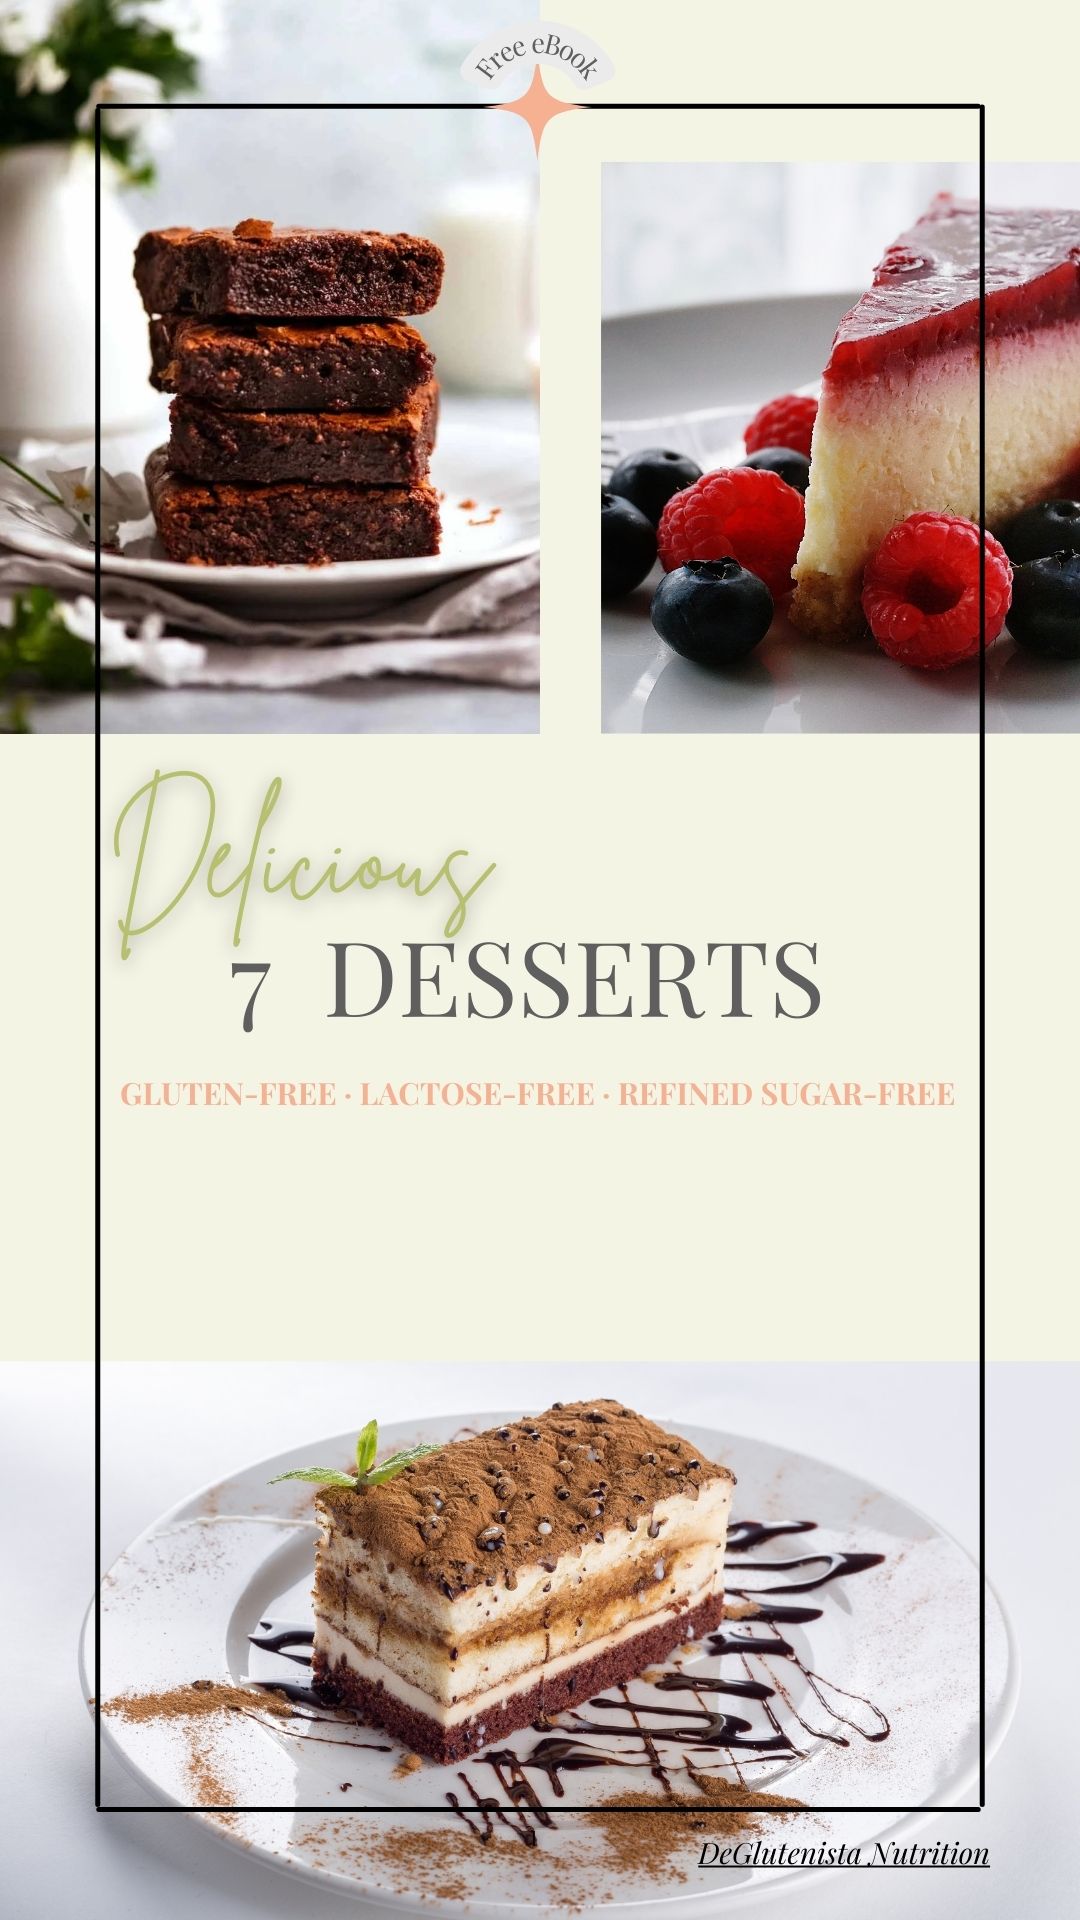
Fancy a freebie?
Subscribe for my newsletter
and get your FREE eBook with 7 delicious gluten-free desserts!
*We will only send you gluten-free, lactose-free, refined sugar-free emails; you can unsubscribe anytime. Read our Privacy & Cookie Policy.


Thank you for stopping by! I’m Dani!
nutrition student | Healthy Live Promoter | Gluten-free recipe developer
Welcome to DeGlutenista Nutrition!
Your visit really means the world to me. I’m happy to share simple, nourishing gluten-free recipes and practical food tips focused on gut health and clean eating, all with an emphasis on reducing ultra-processed ingredients.
My approach is simple: practising mindful eating, regardless of food sensitivities, can be both tasty and healthy.